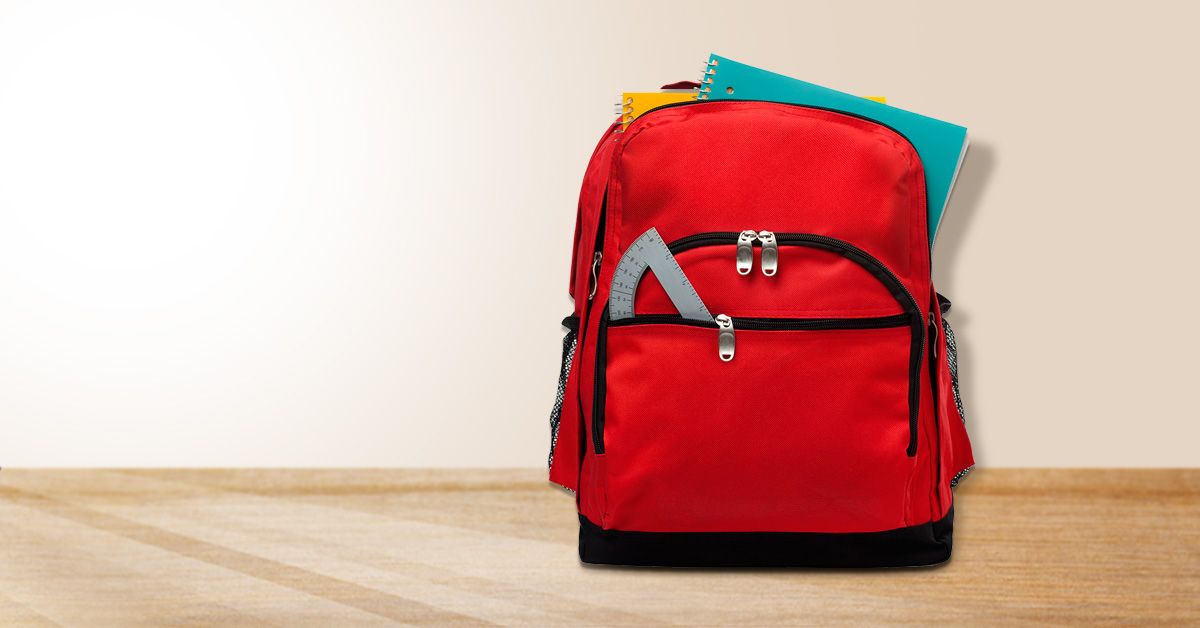
It is school time again! More and more students and parents will be hopping online to stock up on school supplies. As an Amazon seller, you know your product is ready to serve your customers. How do you show it to them when they are not around to physically see it for themselves? This blog post will assist you with your back-to-school photoshoot.
Like you, your competitors will also be prepping up to impress your customers. Hence, your product photos must stand out to stand out from the competition.
In this article, we talk about 5 hot back-to-school photo ideas. We also discuss a few tips to keep in your back pocket for your product photoshoot.
5 hot tips for back-to-school photoshoot
Following are 5 points that will help you slay your back-to-school photoshoot -
1. Lifestyle images
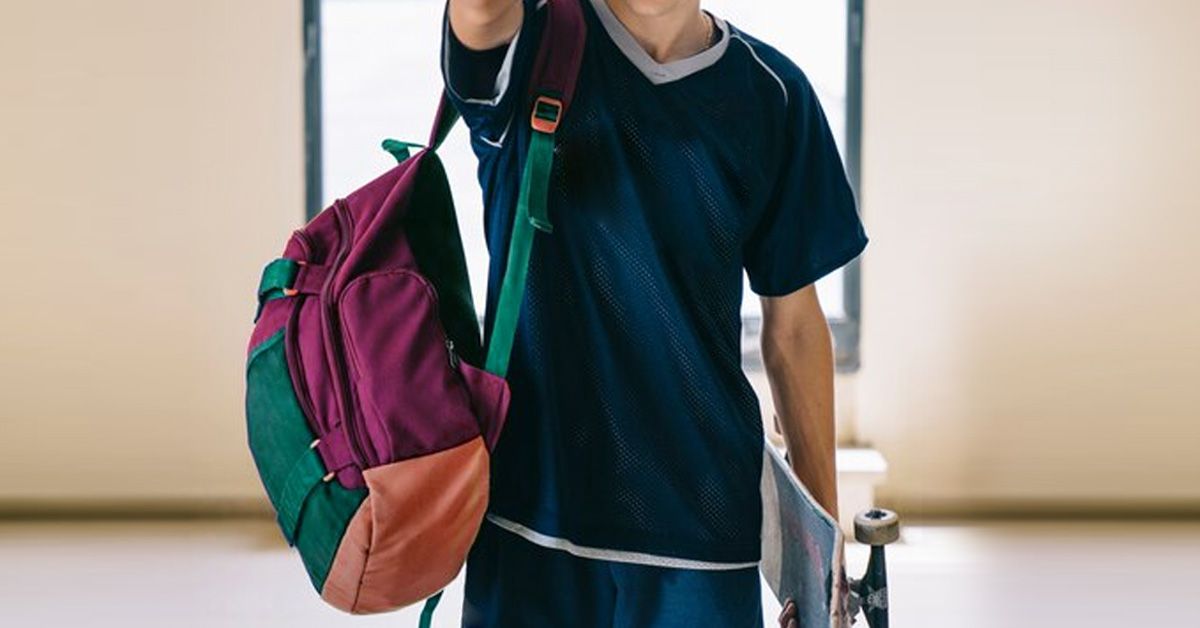
When customers see how they would put the product to use, they are more likely to purchase it. Lifestyle shots help your customers visualize how they would be using the product.
While individual shots of the product have their own benefit, lifestyle images add emotion to your photograph compared to a lifeless still picture.
People relate more to people than objects. Like how putting a human face on any brand increases the brand's credibility; similarly, lifestyle images give images a certain depth that plain photos simply cannot.
You can use children and parents in the image to showcase how your product is used daily. Check out how First Cry has done it.
2. Getting the angles right
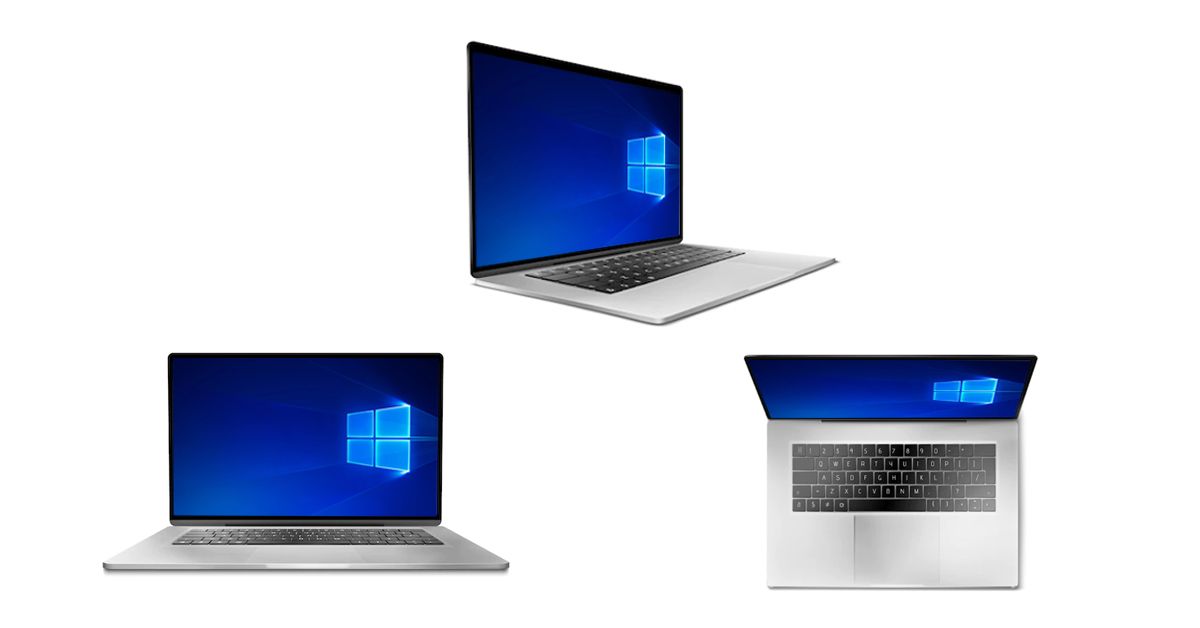
It is often challenging to capture the exact size of a product through a photograph.
Taking photos from not only different but the right angle is critical. The angles dictate what your customer's attention will go to.
Getting the angles for your product photography right means building trust among customers and, in turn, increasing purchases.
While you can add the scales in your product description, pictures often may look deceiving.
You can add the scales in one of your images alongside the product in the image, especially if it's hard to get the right angle. eCommerce product photography apps like DoMyShoot help you get the scaling and angles right. You can try it for free here.
If you already have a go-to angle, consider experimenting with different ones.

3. Getting the proper lighting
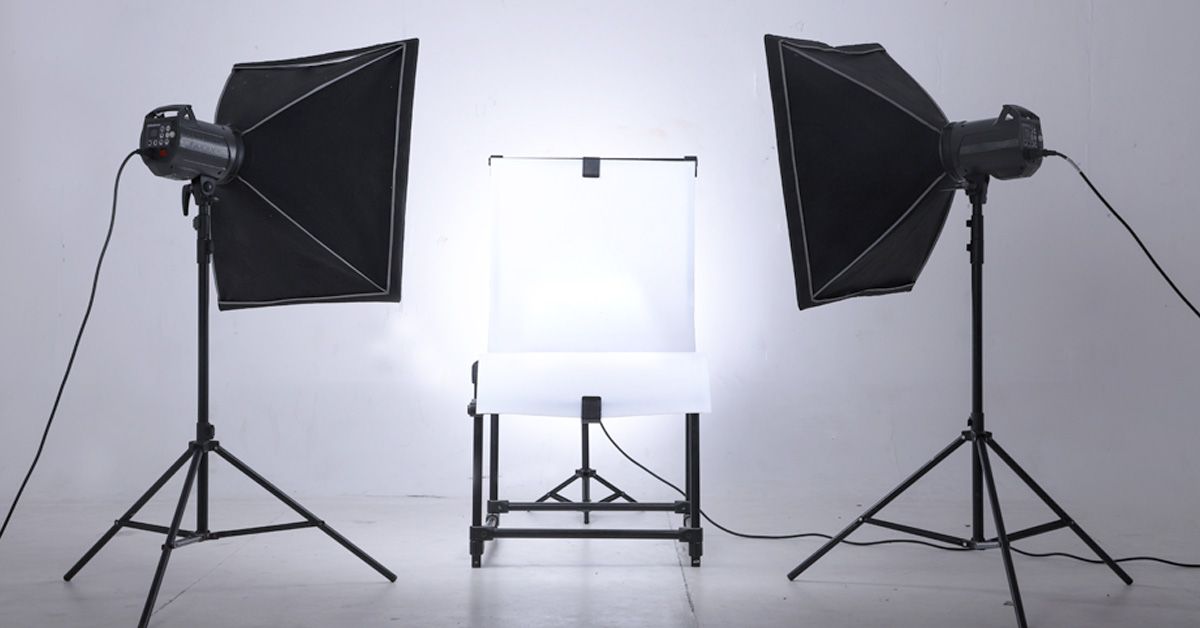
Good lighting creates all the difference when it comes to back-to-school photoshoots. Your customers want to ensure they purchase the right product for their kids that will last at least a year.
Good lighting will help you get clear quality pictures which will help build trust among potential customers. The two primary sources of light are natural light and artificial light.
a. Natural light
Suppose you are looking for a budget-friendly option. In that case, natural light should be your go-to option. Choose a natural light workspace if you shoot outdoors.
If you are having an indoor photoshoot, set up your table, backdrop, and product close to a window. For best results, shoot at the golden hours like sunrise and sunset.
b. Artificial light
Artificial light is your best bet if you have the budget to invest in good studio light or if it is not always convenient for you to shoot only at peak hours.
If you will be using artificial lights, here are 5 Tips to Take your Product Photography Lighting Setup to the Next Level.
4. Focusing on the details

Got a creative side in your product that kids will love? Have an exciting feature in your product that will make your final customer's (in this case, a child's) life easier? Capture it!
Capturing details in product photography is essential because the more you focus on details, the more informed your customers will be.
In fact, the more details about the features of quality of your product you can capture, the better. See how a brand called Bentgo has done it on Amazon.
Amazon allows you to put up a certain number of pictures. Make the best of all the spaces you have got.
However, be mindful of the photo you display because each photograph will cost you time and money. Putting up pictures that will benefit your customers and you are essential in the long run. Feel free to take several shots and evaluate those.
5. Packaging shots
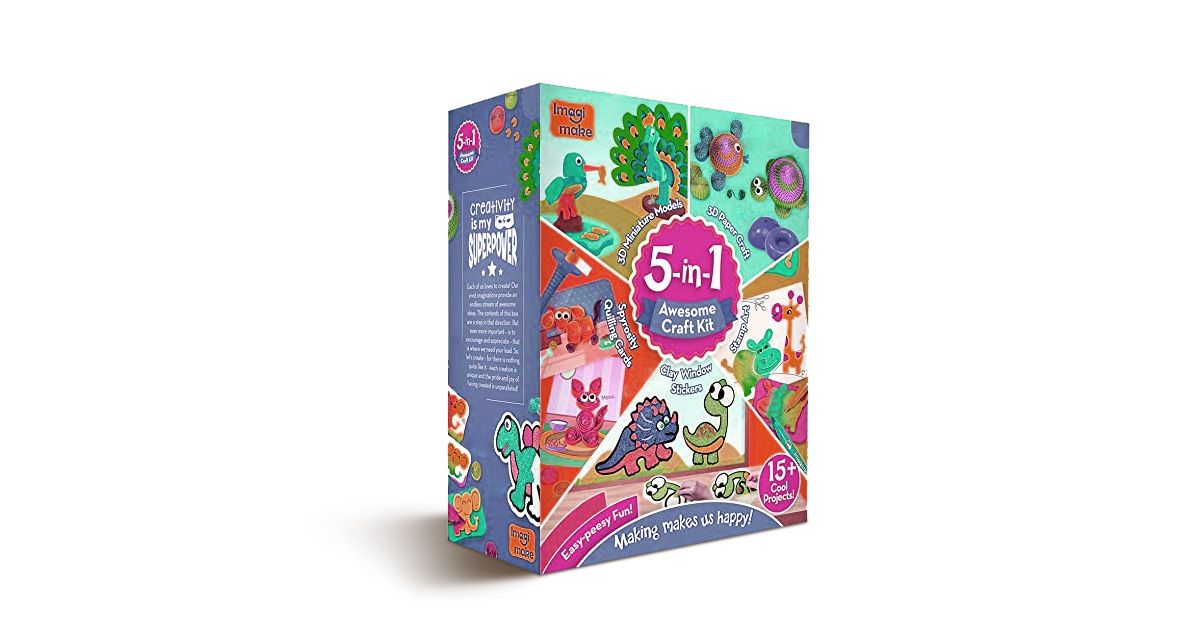
Ever seen one of those bad reviews of a product on Amazon because of inadequate packaging?
Packaging matters to your customers. Believe it or not.
Many entrepreneurs design their packaging just so that when it reaches their customers, it is pleasing to the eye and makes the customers feel good.
Now, we are not saying that you have to spend extra time and money on your packaging (it is sometimes simply not possible).
But if you have a specific packaging, whether a box, a bag, or a label, display it. Check out how Lego did it.
4 Additional tips to keep in your back pocket
To make the best of your photoshoot, we offer you the cherry on top of the cake in this blog.
Here is a list of 4 tips to keep in mind to take your back-to-school photoshoot from ordinary to extraordinary -
1. Setting up your background
For a creative back-to-school photoshoot, setting up your background is the most essential part. Getting your background right is crucial because it will help keep your product in focus and save you time editing your image in the post-production process.
While there are plenty of background ideas to choose from, if you are hosting your product on Amazon, check out Amazon's guidelines before going ahead. In most cases, white background is your best bet.
Following are a couple of affordable options for you to choose from -
a. Shooting table
I suggest purchasing a white sweep from Amazon if you have product photoshoots more often.
However, if you want to build something yourself at home, you could create your own chair-mounted sweep with a roll of white craft paper.
This is how you can go about it - Push the back of the chair against the wall and clamp the white craft paper to the top of the chair, allowing the white roll to fall to the ground.
You should invest in a stand-mounted sweep for more oversized products like bags. Or you can tape a sizeable white craft paper to the wall.
b. Light tent
A light tent or a lightbox is a wireframe box with translucent walls which will help you create an evenly distributed light around your object in focus.
To make your own lightbox, you will need a plastic storage container placed on its side without the lid.
Then, cover the insides of the box with white paper. This is done if you want to distribute light more evenly.
Finally, place an artificial light on either side of the container. For a budget-friendly option, you can use natural light by placing the container near a window.
2. Setting up your product
It's time now for the star of the show - your product.
This will take a few tries before you get your product's angle, lighting, and positioning just right.
Place your product in front of your backdrop. Ensure it is in the center on a flat, stable surface like a table or chair.
For items like stationery, lunch boxes, and other accessories that have details, you may need some time to adjust the product to precisely center it.
For items like bags, umbrellas, shoes, clothes, etc., you can take help from a friend or any of your team members who have a child for modeling and creating fun lifestyle shots.
3. Using the right equipment
While it is not necessary to invest in heavy or too expensive equipment, there are a few essential photography equipment you will need at all times. Hence, it is always more profitable to invest in these. The primary ones are a tripod and a camera.
a. Tripod
You can get a good tripod on Amazon for $40 - $250. Tripods will help you get sharper quality images instead of blurry images. Using a tripod is always better than shooting from a camera using your hands.
b. Camera
Again, you don't need to initially invest in expensive cameras, but as an eCommerce seller, having an excellent quality camera should be on your list.
If investing in a camera is still not in your budget, you can always use a good smartphone camera. You can use yours or borrow it from a friend.
4. Editing
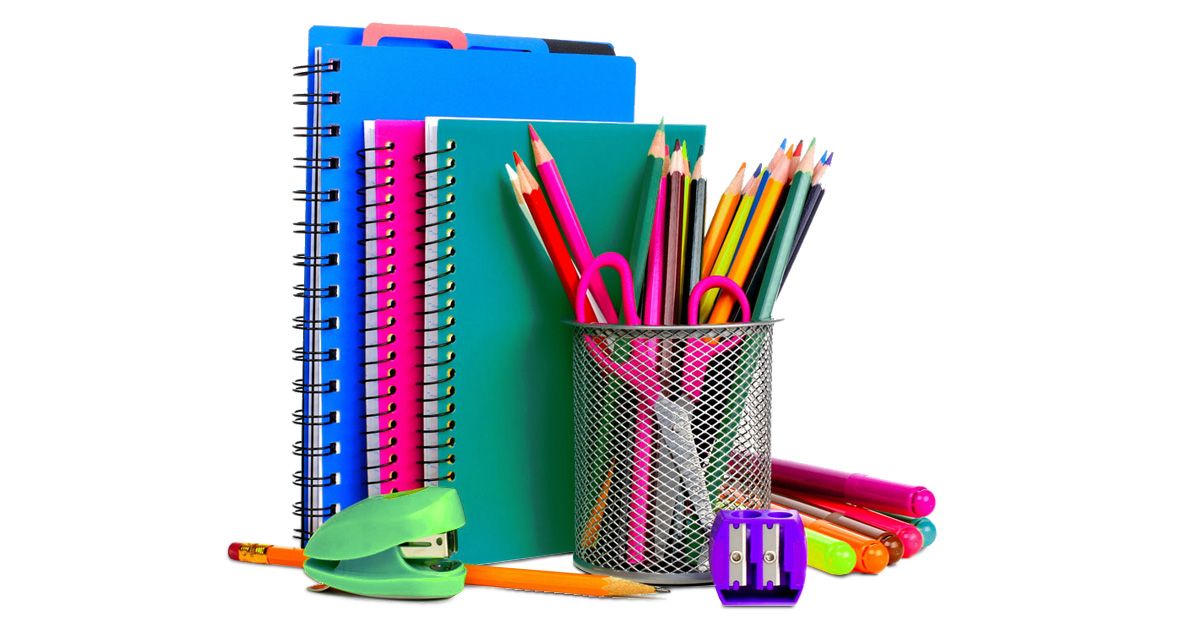
Ladies and gentlemen, brace yourselves. It's now time for post-production.
Once you are done with taking all the pictures you need, it is now time to retouch and optimize them a bit before uploading them to your Amazon store.
Retouching and optimizing your images will ensure that your site has consistent quality, lighting, and positioning. This process will take your back-to-school photos from average to professional.
Amazon has a specific set of guidelines to follow for the images that are uploaded on its platform.
Read the Amazon Guidelines before you go about editing your images. This will save you time and effort.
An easier way to take killer back-to-school photos
Now you have the tips you need to make the best of your back-to-school photoshoot. It's time to get to work and drive sales through your Amazon store!
If you are on a time or funding crunch and want to speed up your production and post-production process, apps like DoMyShoot can come in handy. The app can -
- Take high-quality pictures for Amazon
- Assist you in clicking photos with the right angles
- Offer you a selection of 1000+ backdrops for your product images
- Scale up your image production workflow
- Optimize your pictures for different marketplaces
- Deliver high-quality product images in less than 24 hours
Wondering if DoMyShoot is for you? Try the free demo of the app now.


