Are you wondering how to photograph jewelry at home? Or are you looking for a way to have a photoshoot on a low budget? We’ve got you! While there are expensive tools to get your work done, simpler ways of doing the same things still exist. This article discusses how you can have a jewelry photoshoot on budget.
Jewelry photography, compared to other product photography, is the most minimal. However, the equipment used to get a perfect shot costs more. We can’t wait to dig into this topic and help you get things rolling quickly with less investment.
However, before we get into how we can do a jewelry photoshoot on budget, let’s discuss the equipment we will need.
What equipment will you need?
The answer to this question is more straightforward than you think. Look around your house. Do you notice familiar things like books, your smartphone, a window, papers, or satin cloth? You might have a few of these; some you may have to borrow. Now, how can you put these things to use?
- Smartphone: While DSLRs can get you amazing shots (you can borrow one from a friend. If not, read further), smartphones too can get you good jewelry photos. You will have to adjust the camera focus on your phone and get the correct lighting.
- Natural light: Speaking of lighting, do you have a window from where good light enters your house? Use that! The golden hours, i.e., sunrise or sunsets, are the best time to photograph jewelry at home. When taking pictures from your phone camera, this light (from the golden hours) will give your jewelry a good effect. You will end up getting some magnificent shots.
- Books: Have you figured out why we have added books to this list yet? Books make excellent budget-friendly tripods. Stack your books one above the other, make sure your phone is steady, and set a timer before taking your shots.
- Paper: Papers can be used to remove any unwanted reflections. They also make for unique backgrounds. You can try different colored papers pertaining to your brand’s message. You can place these papers underneath or behind your jewelry.
- Clothes: Satin clothes make unique jewelry backgrounds. You can buy them once and use them repeatedly.
Backgrounds for jewellery photography
The following are the top 5 commonly used backgrounds for creative jewellery photography.
1. Neutral Fabric: Use a plain, neutral-colored fabric like white, beige, or gray to create a clean and timeless backdrop for your jewelry photos. This simple background keeps the focus on the intricate details of the pieces.
2. Wooden Texture: Opt for a wooden surface to add warmth and a touch of nature to your jewelry shots. This background works well for rustic or bohemian-style pieces, providing a visually appealing contrast.
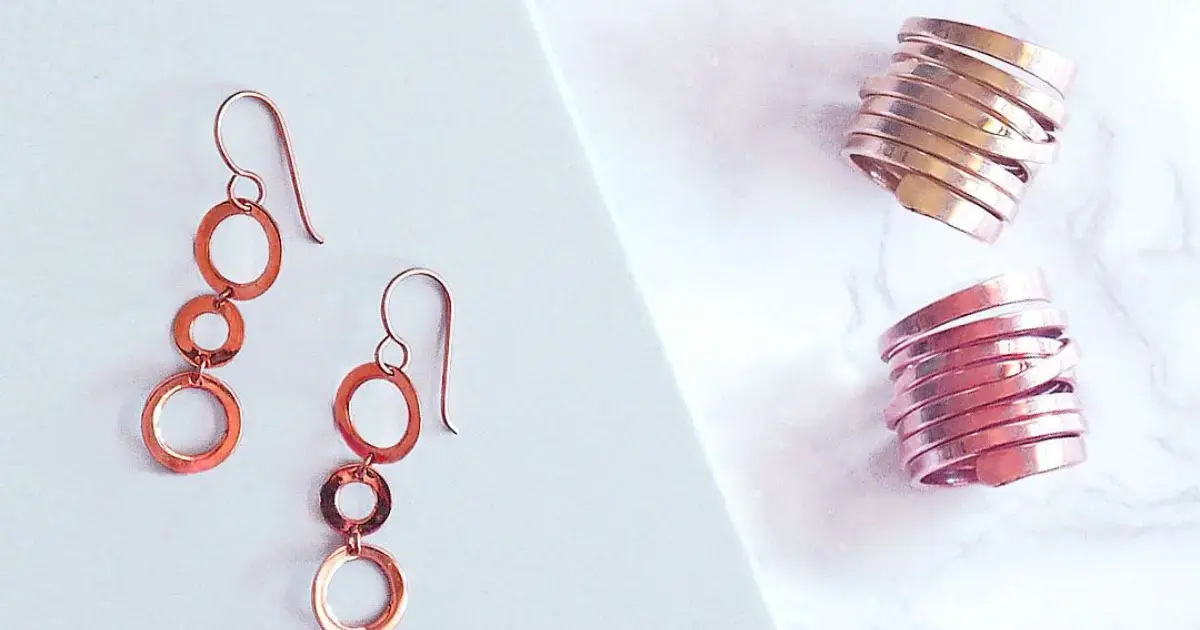
3. Marble Surface: A marble backdrop adds a touch of sophistication to your jewelry photography. Its smooth and elegant appearance complements various types of jewelry, enhancing the overall aesthetic.
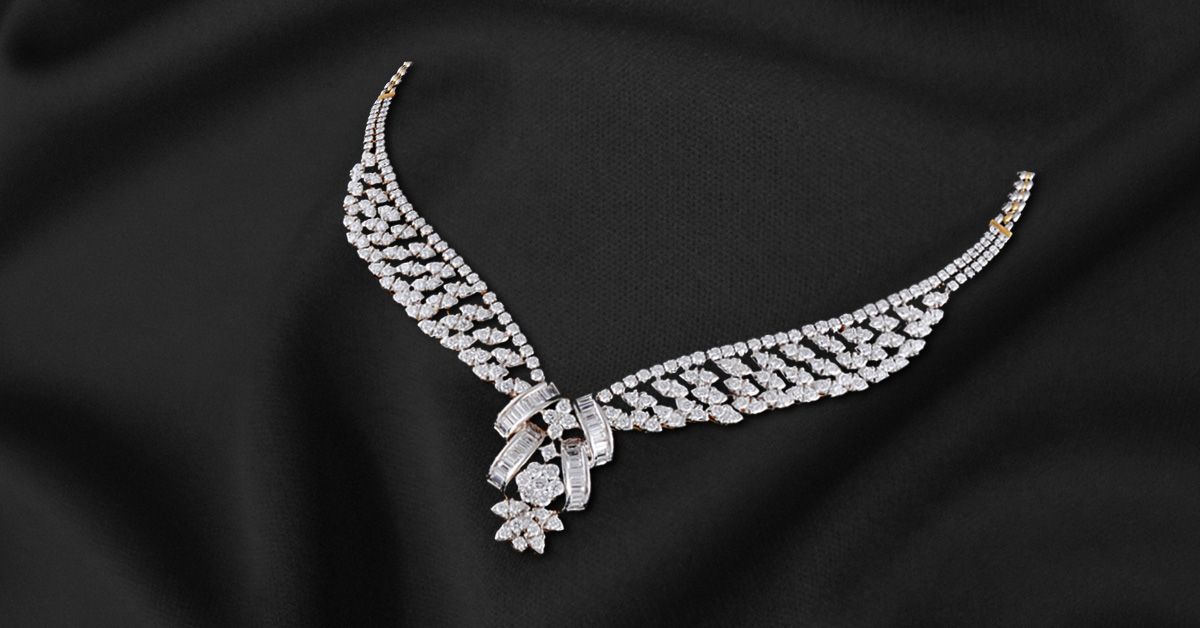
4. Black Velvet: For a luxurious and dramatic look, consider using black velvet as a background. This rich, dark fabric creates a stark contrast that highlights the shine and sparkle of your jewelry, making it pop.
5. Reflective Surface: Experiment with a reflective background, such as a mirrored or glossy surface, to add a modern and artistic touch. This technique can create interesting reflections and make your jewelry appear more dynamic.
Explore these versatile backgrounds for your jewlery photos on a budget, combining simplicity with creativity for stunning and memorable shots.
Jewelry photography tips
1. Experiment with Angles and Perspectives: Explore different angles to showcase the jewelry from unique perspectives. This adds variety to your shots and makes your jewelry photography more captivating and creative.
2. Play with Depth of Field: Utilize your camera’s aperture settings to control the depth of field. A shallow depth of field can draw attention to specific details, creating an artistic and aesthetically pleasing effect.
3. Contextual Storytelling: Consider incorporating props or elements that relate to the jewelry’s theme or style. This adds a narrative to your images, making them more engaging and contributing to creative jewellery photography.
4. Utilize Natural Elements: Integrate natural elements like flowers, leaves, or stones into your compositions. This not only enhances the visual appeal but also adds a touch of nature that complements the beauty of the jewelry.
5. Silhouette Shots: Experiment with silhouette photography by capturing the jewelry against a well-lit background. This technique emphasizes the shape and form of the pieces, creating a visually striking and artistic effect.
6. Motion Blur for Dynamism: Introduce subtle motion blur to convey a sense of movement and dynamism in your jewelry photos. This technique adds a modern and creative touch to your compositions.
7. Reflections and Mirrors: Use reflective surfaces or mirrors to create interesting reflections. This not only adds a layer of complexity to the image but also enhances the overall visual appeal of your jewellery photography ideas.
Implementing these tips will elevate your jewelry photography, infusing creativity and uniqueness into your compositions for a visually stunning result.
Doing an amazing jewelry photoshoot on budget
Let’s discuss the 8 things you will need to put in place for your budget photography.
1. Find the right light

The natural light source is the most budget-friendly light source there is. Hear us out on this one, the light during sunrise or sunset works the best for light jewelry photography.
Suppose you are shooting for dark jewelry photography. In that case, you can invest in the essential minimal tools such as -
- A. 2 Speed lights.
- B. Shooting cone.
- C. Dazzler LED lights (if you are using moonlighting).
- D. Light diffusers.
All of these will together cost about $500. It is worth it if you use this equipment in the long run. Or else, hiring a product photographer will be cheaper than investing in jewelry photography equipment.
2. Focus your camera lens
When choosing a smartphone, choose the one that has a good focus. You can also borrow one from a friend or a family member. Jewelry photography is all about focusing on minor details. Hence, choose a smartphone camera with a macro lens to help you focus on your product details.
You can consider getting a good DSLR lens if you have the budget. Nikon lens from Amazon is a good deal.
3. Get creative with props

You will find so many budget-friendly items around the house you will be surprised! See if you have the following things in your home: fancy tiles, mirrors, marble boxes, vases, and satin cloth. If you don’t have any of these items, you can go on a shopping spree!
4. Use a tripod
After arranging your lighting, getting the best smartphone for a perfect shot, and getting all your props in place, you need to ensure you are at least getting steady shots.
As I mentioned above, you can use a stack of books and place your phone on it (you can use some heavy object to keep on either side of your phone to keep it steady). Investing in a tripod for the long run is a good idea.
5. The background matters

The background is an integral part of jewelry photography. It sets the tone and story of the entire image.
Light background colors signify play, joy, and elegance. Dark backgrounds represent luxury, minimalism, and elegance. However, no matter your brand’s message, you can choose from various options.
You can check out this list of 11 backgrounds for jewelry photography you can use for jewelry photography.
6. Prepare and style
It is about trial and experimentation when it comes to styling your product. There is no one-size-fits-all. Choose your background, get your props ready, and lighting set.
Being ready beforehand, especially when using natural light, is essential. You don’t want to miss out on the peak hours!
Keep your jewelry polished and ready beforehand. Use cotton gloves to avoid leaving fingerprints. If you are using a DSLR, these minor details will be evident.
7. Reflections and angles

Photographing metals and jewels together can be a task because you will get a reflection from metals. You can have an overhead light over your metal product to avoid this.
The next thing to do is take pictures of the same object from different angles. Many sites allow you to have not one but multiple images of the same product. This is so that the buyer understands what the product will look like after purchase.
If your site allows you to have multiple images, make full use of these spaces.
8. Final editing
Once you have chosen your props, background, and lighting and taken some fantastic pictures of your jewelry, the next step is editing these images.
Editing your product images is a work of art. You can outsource this task or take the time and learn this. Initially, like learning any new skill, learning editing will take time. But once you understand your way around, it will come naturally to you.
Editing your images will enhance the photograph, and your product’s primary features will pop out.
Jewelry photography on phones
Here are seven tips to keep in mind when photographing jewelry with your smartphone.
1. Natural Lighting is Key: Position your jewelry near a window or in a well-lit area to utilize natural light. This helps capture the true colors and details, enhancing the overall quality of your jewelry photos on a budget.
2. Clean Your Lens: Ensure your phone’s camera lens is clean before shooting. Fingerprints or dust can blur the image, affecting the clarity of your jewelry photographs.
3. Use a Simple Background: Opt for a plain and non-distracting background to draw attention to the jewelry. A solid color or a subtle texture works well, contributing to a clean and professional look.
4. Macro Mode or Focus: Take advantage of your phone’s macro mode or tap on the jewelry in the frame to ensure it is in focus. This is crucial for capturing intricate details and showcasing the craftsmanship.
5. Stabilize Your Phone: Avoid shaky images by stabilizing your phone. Use a tripod if available, or prop your phone against a stable surface to prevent blurriness, especially in close-up shots of jewelry.
6. Experiment with Angles: Capture your jewelry from various angles to find the most flattering perspective. Experimenting with different angles can highlight unique features and create visually appealing compositions.
7. Edit Thoughtfully: After capturing the photo, use basic editing tools to enhance brightness, contrast, and sharpness. Be mindful not to over-edit; a subtle touch can make your jewelry photos stand out without compromising a natural look.
Follow these steps to master how to take pictures of jewelry with phone, achieving professional-looking results even when working on a budget.
How to retouch jewelry photographs
1. Start with Basic Adjustments: Begin by adjusting basic settings such as exposure, contrast, and saturation. Ensure that the jewelry’s colors are true to life and that the overall image is well-balanced.
2. Spot Healing: Use the spot healing tool to remove any dust, scratches, or minor imperfections on the jewelry. This step enhances the overall polished look of the piece.
3. Selective Sharpening: Apply selective sharpening to highlight the intricate details of the jewelry. Be cautious not to over-sharpen, as it can create unnatural effects.
4. Color Correction: Fine-tune the colors to match the true tones of the jewelry. Correct any color casts or discrepancies, ensuring the piece looks vibrant and accurate.
5. Background Cleanup: If needed, clean up the background to remove distractions or blemishes. This step helps keep the focus solely on the jewelry.
6. Reflection Enhancement: Enhance reflections to make the jewelry appear more lustrous. Carefully adjust highlights to bring out the shine without making it look artificial.
7. Consistent Tone: Ensure a consistent tone throughout the image, avoiding harsh contrasts that may distract from the jewelry. Aim for a cohesive and visually pleasing overall look.
When retouching jewelry photographs, it’s essential to strike a balance between enhancement and maintaining a natural appearance. These steps contribute to creating polished and professional-looking jewelry images.
Conclusion
The tips mentioned in this article are the best while planning to have an affordable jewelry photoshoot. But if you want to get this done without spending much time and money arranging heavy jewelry photography equipment then there is an easier way.
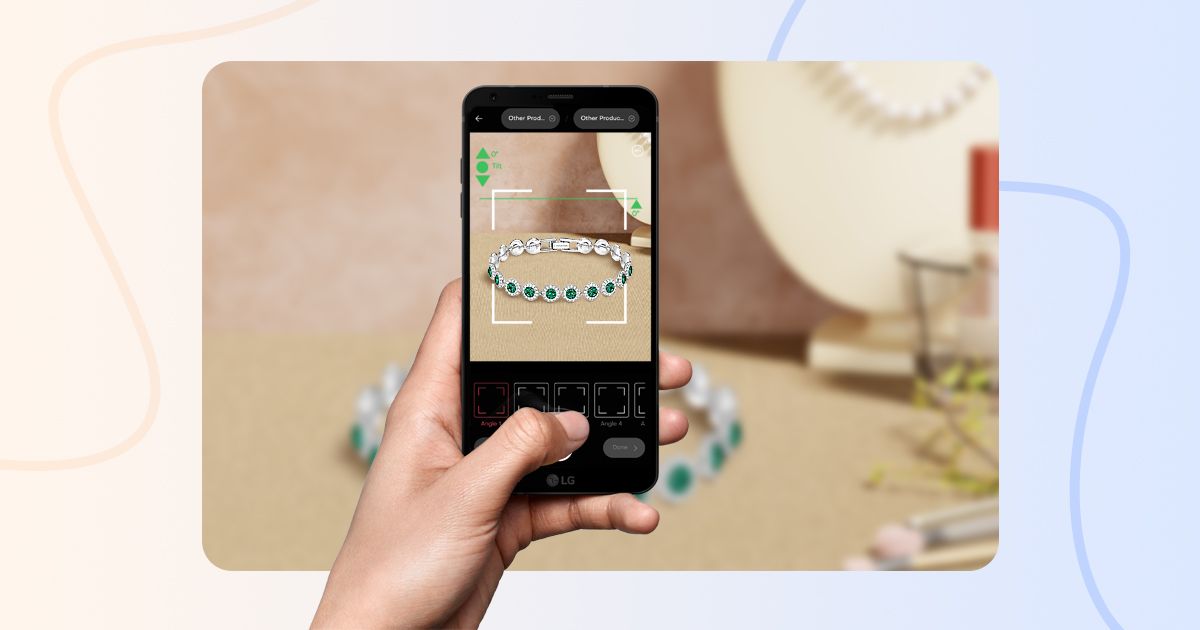
The DoMyShoot app allows you to use 1000s of pre-saved templates for jewelry photography. Not only that, different websites have different rules to abide by when it comes to photographs.
DoMyShoot is a budget-friendly app for jewelry photography that instantly creates images depending on the site you are hosting your product. Save time and money on creating and editing your pictures.


