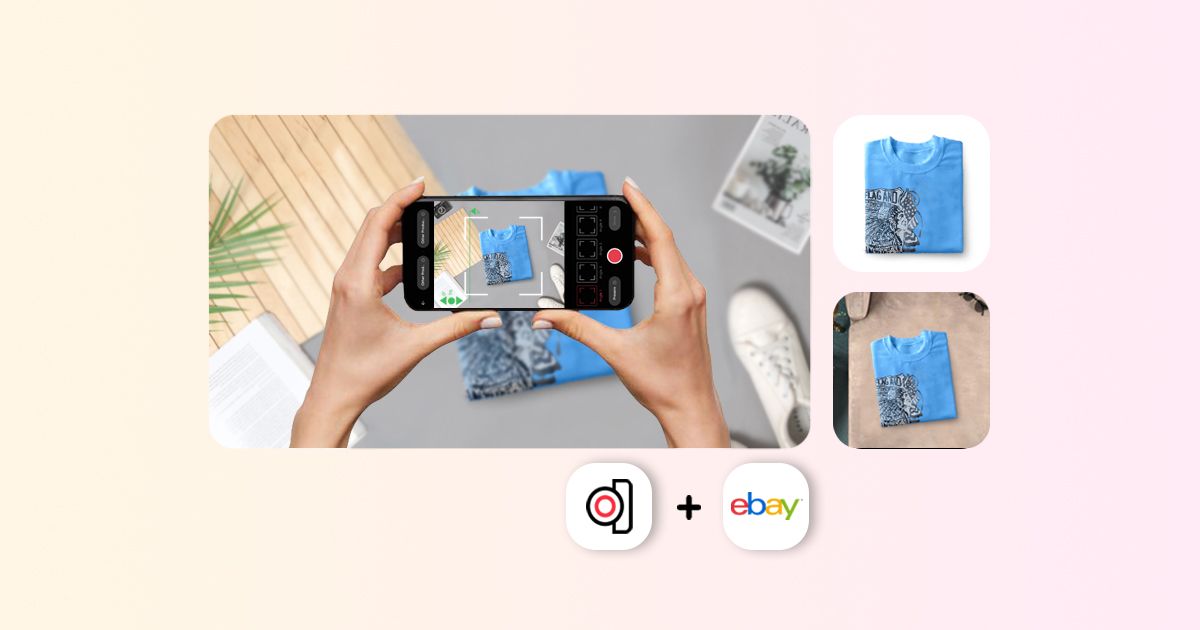
You’ll agree when I say that great product photography builds trust, highlights product features, and ultimately increases conversions.
Every seller wants to grab attention and convert a maximum number of browsers into buyers, hence, knowing how to take pictures for eBay is a must.
Regardless of what you sell (clothes, electronics, or home decor) our guide here will break down everything in detail for you and help you in capturing professional-quality eBay photos at home without incurring high expenses.
Why High-Quality eBay Photos Matter?
Product images are the first thing that buyers notice. According to eBay’s research, listings with clear, detailed images see up to 5% more sales than those with lower-quality photos. Here’s why:
- Product photos appear in search results and impact conversion rates.
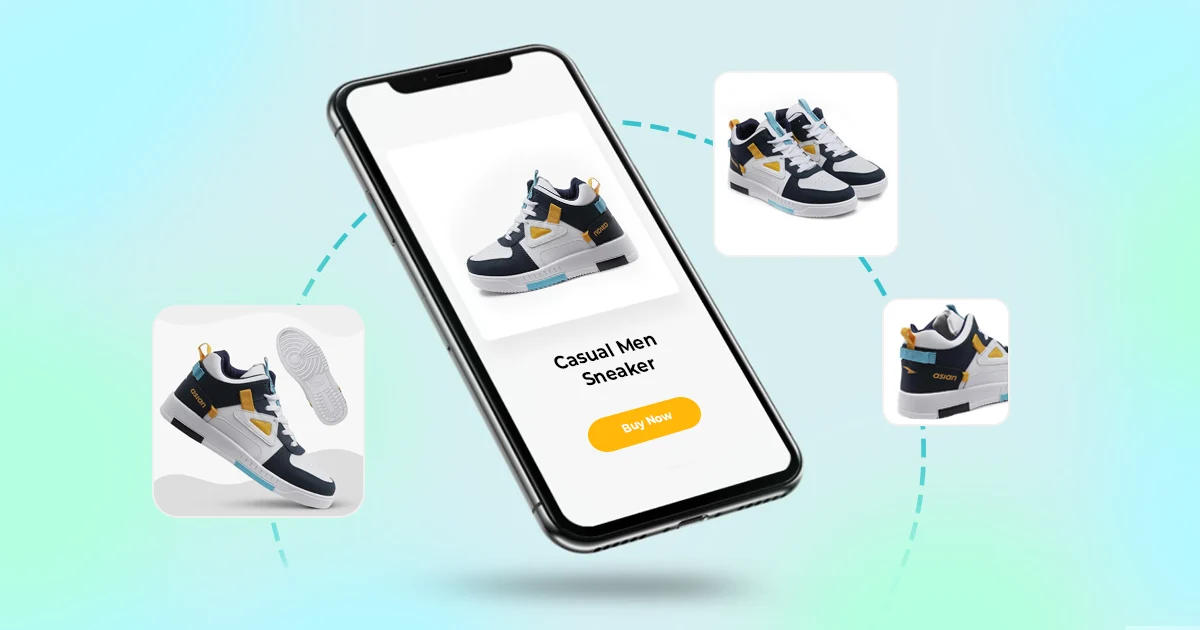
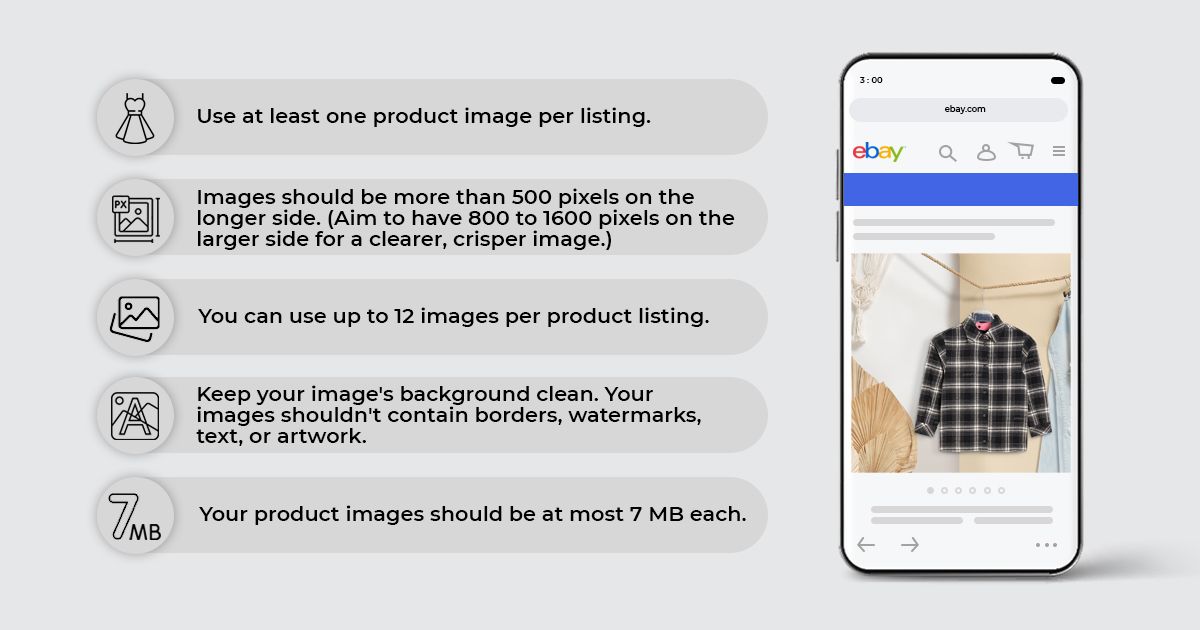
- eBay allows up to 12 product photos, so you need to grab this opportunity and take advantage of every slot.
- The quality of the uploaded product photos reduces returns by setting accurate expectations.
eBay Photo Setup: What You Need to Get Started
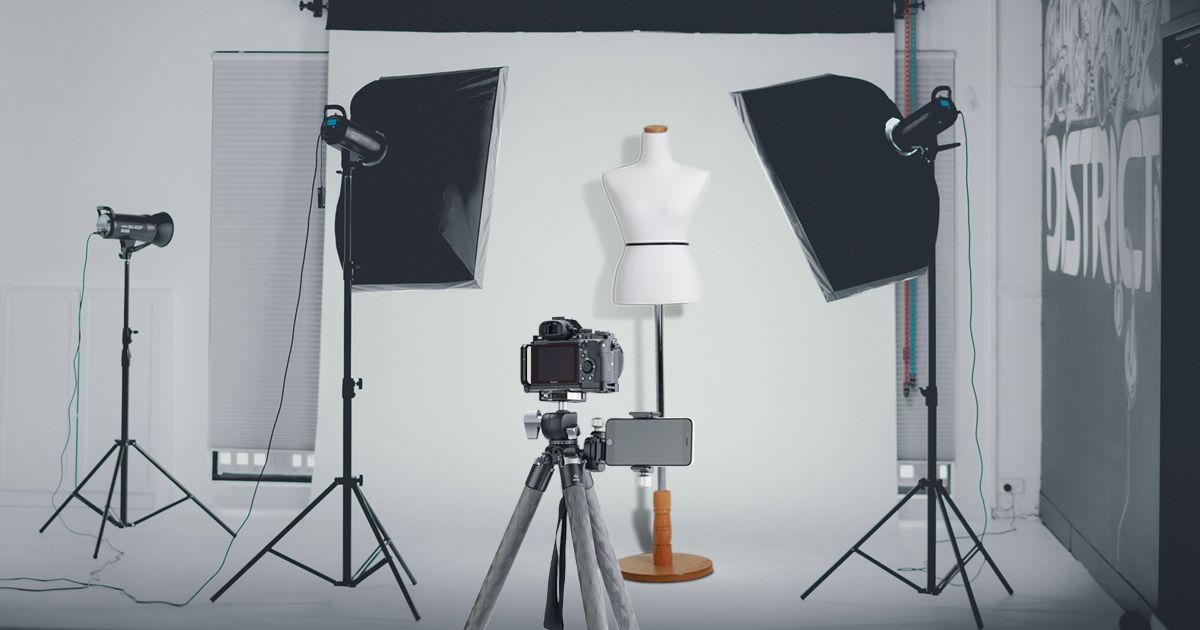
Setting up the surroundings properly is crucial. Here’s your ideal eBay photo setup:
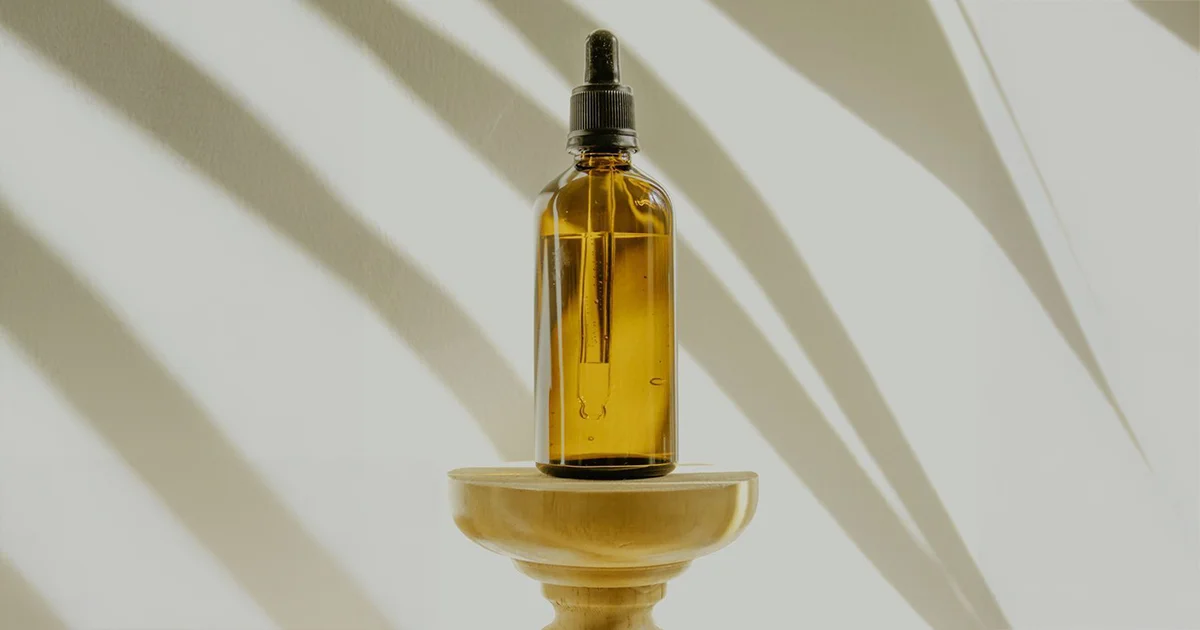
- Background: You need to make use of a clean white or neutral background (like a poster board or lightbox)
- Tripod: Keep your camera or smartphone still for focused shots.
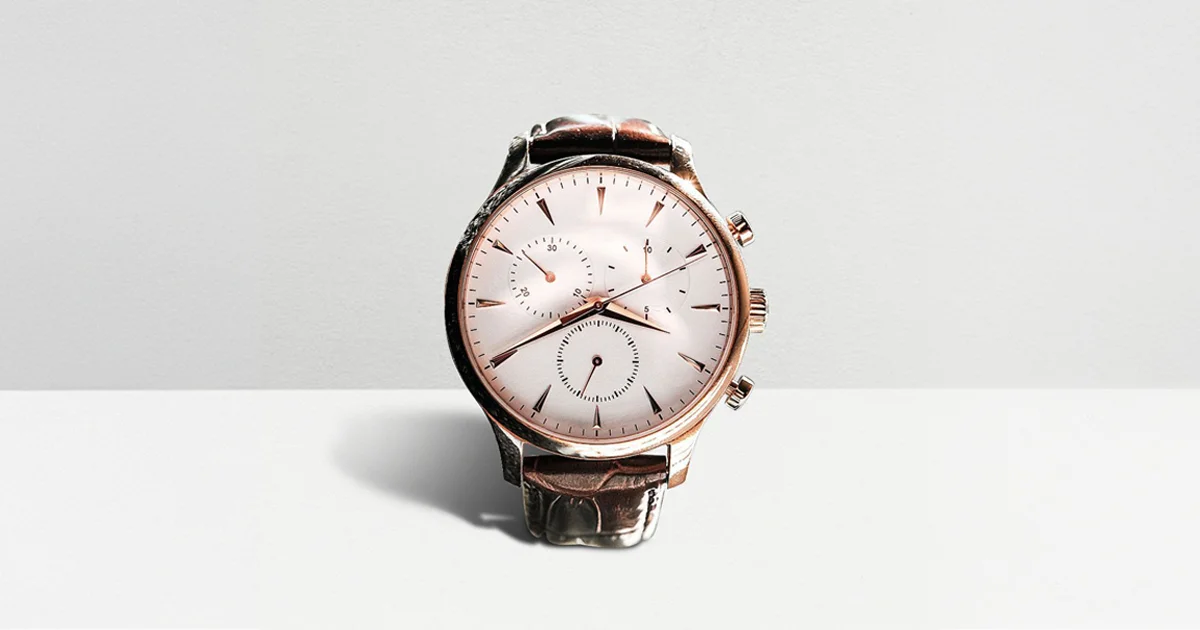
- Lighting: A well-planned lighting for eBay photos displays the details of the product. The lighting setup that works the best is either natural lighting or softbox lights.
Pro Tip: You can make use of apps like DoMyShoot for background removal and get a crisp/studio-style finish.
How to Take Good Pictures for eBay: Step-by-Step Process
If you are willing to upgrade your sales, then you need to understand how to take good pictures for eBay. You need to follow this process:
- Clean Your Product: Wipe away dust, wrinkles, or smudges.
- Use Consistent Angles: Front, back, sides, close-up of flaws or labels.
- Avoid Zoom: Move closer instead for clarity.
- Fill the Frame: Your item should occupy 80–90% of the photo.
- Shoot Multiple Photos: Use all 12 slots if possible.
This approach helps potential buyers to get a better understanding of the product they are willing to buy.
How to Photograph Clothes for eBay: Clothing-Specific Tips
If you are a fashion seller, then knowing how to photograph clothes for eBay makes a huge difference. Use these proven techniques:
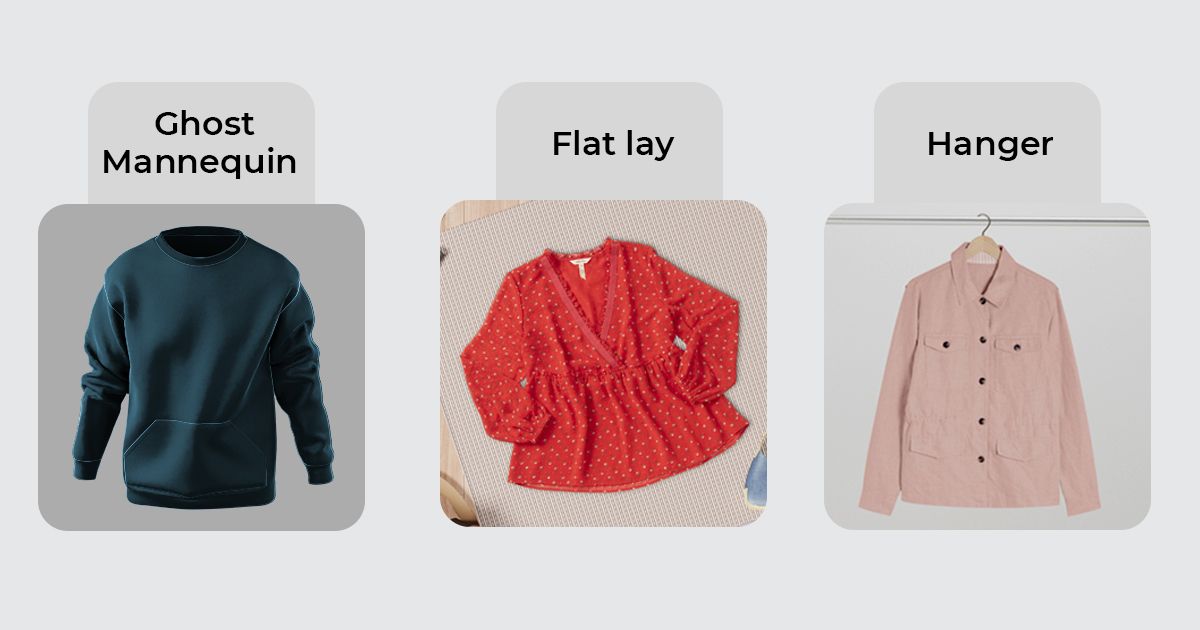
- Hang or Flat Lay: You can use a hanger on a plain wall, or you can simply lay garments on a clean flat surface.
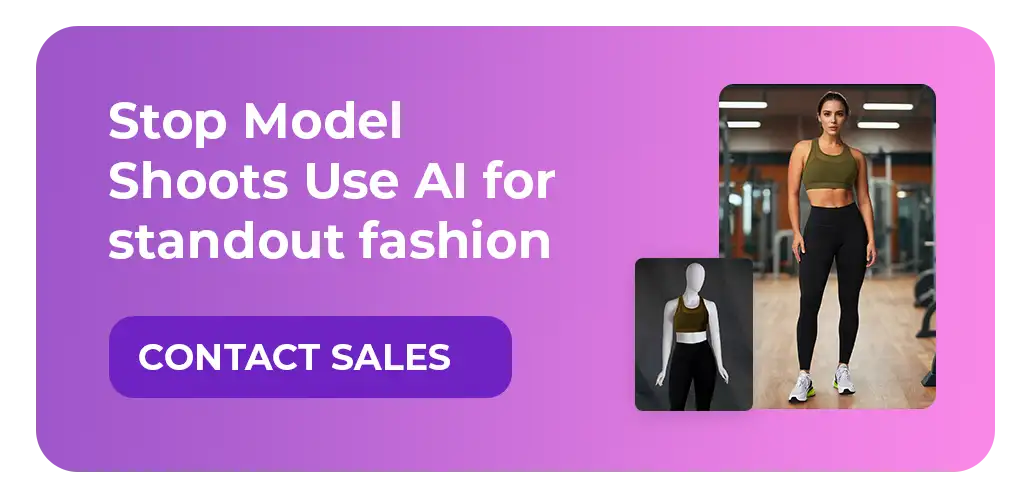
- Show Fit: Use a mannequin or model if possible.
- Highlight Details: You must highlight small details of your product, like stitching, buttons, and more.
- Use Natural Light: Soft, indirect daylight avoids harsh shadows and color distortion. Soft light helps in avoiding harsh shadows and color.
Following the above mentioned steps helps buyers to properly understand the texture, condition, and exact color of your clothing.

Lighting for eBay Photos: Natural vs Artificial
The way you utilise the lighting for eBay photos helps you in making or breaking sales. Here is what you need to keep in mind:
- Natural Light:
It’s free to use and does not manipulate the product’s true color. It is pretty much weather-dependent. - Softbox Lights:
It maintains consistency and provides a pro-quality. Although it requires a setup. - Ring Lights:
It is the best option if you are shooting for small items. Though it might cast circular reflections.
Here’s a tip: Place lights at a 45-degree angle from the object to reduce glare and harsh shadows.
Tools That Make Taking eBay Photos Easy
You don’t need a DSLR. These tools will elevate your listing images effortlessly by just using your smartphone/laptop:
- Smartphone with 12MP+ Camera
- Photo Editing Apps: Snapseed, Lightroom, or DoMyShoot for auto-enhancements
- AI Photo Tools: Automatically retouch, crop, and format your photos for marketplaces
Final Tips
To recap, here's how to take photos for eBay that sell:
- Using consistent backgrounds and lighting setups
- Properly highlight product details and drawbacks
- Use all the product photo slots available
- You should avoid using filters while clicking product photos
- Follow eBay’s photo requirements: minimum 500 pixels on the longest side, no borders or text