The core fundamental of advancing technology today is making an otherwise highly skilled task as accessible and simple as possible for the common people. The same applies to eCommerce as well. We can now set up, optimize and run a successful eCommerce store from the comfort of our very own homes.
This is true for product photography too. We are now seeing the rapid growth of highly scalable, optimizable, and convertible iPhone product photography. Have you ever wondered how to take professional product photos with an iPhone? In this blog, we will help you learn, understand and master this skill to take your online eCommerce store to the next level!
Benefits offered by smartphone cameras
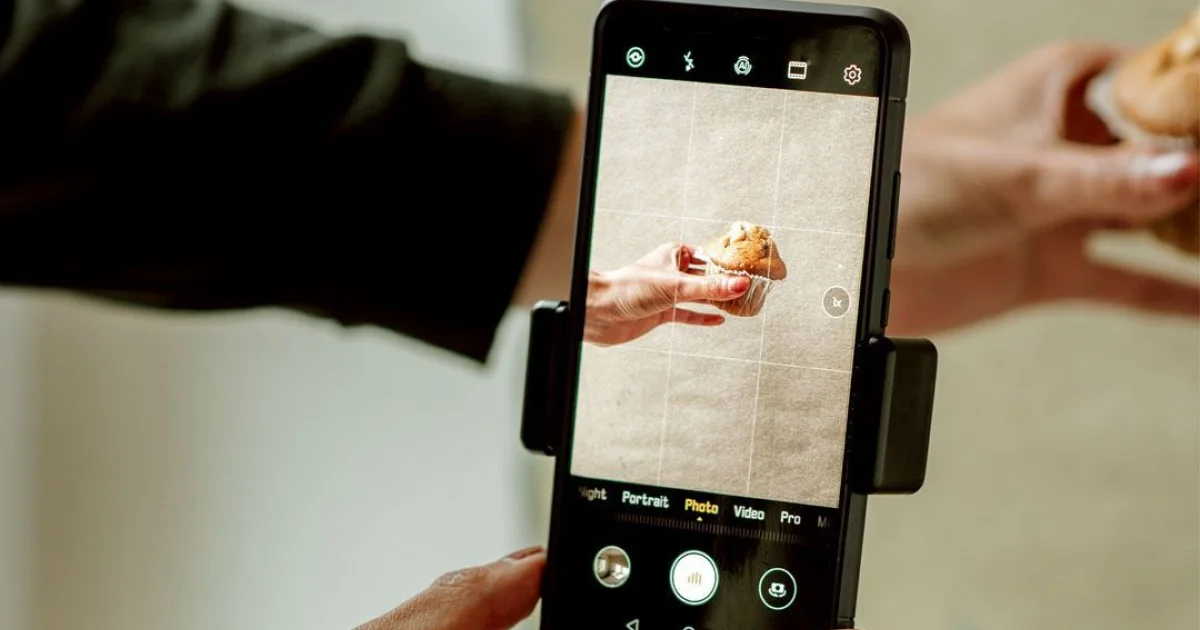
Today, smartphone cameras, including iPhone cameras, are so advanced that most consumers are getting rid of their digital cameras entirely. These tiny devices have become our one-stop solution to all eCommerce needs, particularly high-quality product photography.
Some of the many features we love about smartphone cameras include -
- Compatible device that makes it easy to carry and handle
- Ability to click HDR photos seamlessly
- Option of Auto Exposure/Auto Focus that helps enhance your product shots with minimal efforts
- Plenty of room to experiment and improve your product photography by the use of multiple supportive pieces of equipment and apps
Equipment needed for iPhone product photography
We understand that the idea of taking professional-looking product photos can be quite daunting, especially when you do not have the needed professional gear and/or assistance to execute it.
But don’t worry! We got your back! In this section, we will take you through all the necessary equipment you will need to combat this.
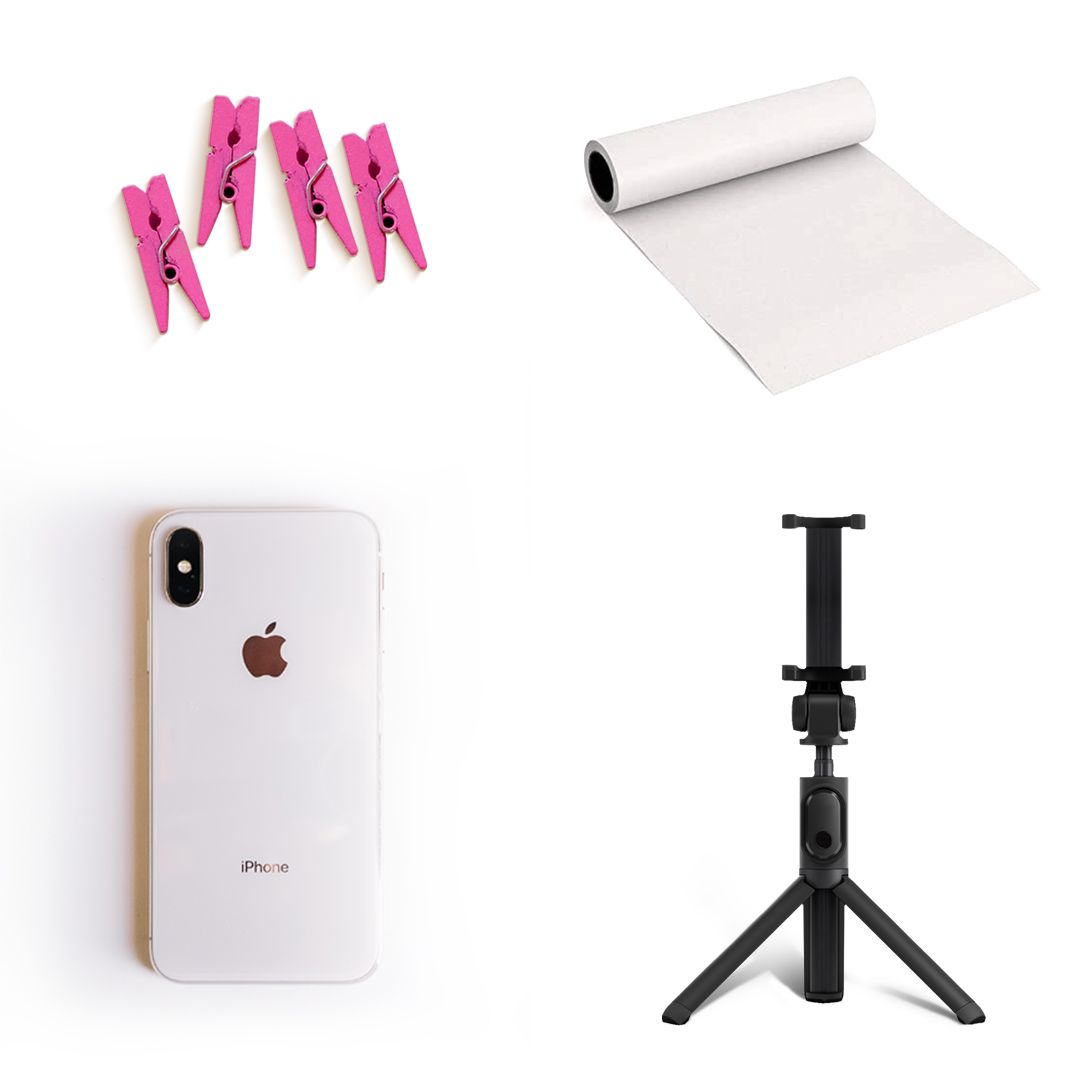
- iPhone camera
You obviously need an iPhone camera to go about your iPhone product photography! It’s always best to learn your way around the various smartphone camera settings available to get started.
- Tripod stand
Poorly-focused, blurry, and shaky photos will not help you get your desired high-quality product shots. Use a tripod instead for better support. It will help you minimize movement and set camera angles easily.
- White paper background
You don’t always need fancy and bulky equipment to achieve the best photography results. Sometimes all it takes is making the best use of common objects in your house. And the same applies to beautiful backdrops as well.
The easiest way to have a great setup is to use a plain sheet of paper for beautiful flat lays or to create a sweeping white background. Using a neutral background lets your product take the spotlight.
- Add-on lenses
Your in-built iPhone camera lens is perfectly capable of taking excellent product photos by itself. However, there can be situations when it’s not quite enough. For instance, when trying to shoot close-ups of products, you might want to consider using an add-on macro lens that’ll help you capture the smaller, intricate details in a much better way. Additionally, you can also use a wide-angle lens to shoot larger items that might be difficult to fit in the frame.
- Wireless remote
You can take photos quickly and efficiently even when you’re occupied arranging your products by using a wireless remote shutter button. Click the shutter whenever ready within the range of the remote and you can reduce camera shake drastically while also being able to capture the ‘perfect’ moments effortlessly.
How to take product photos with iPhone?
Product photography with iPhone is as easy as it gets. Here’s a step-by-step guide to help you take high-converting product photos with your iPhone -
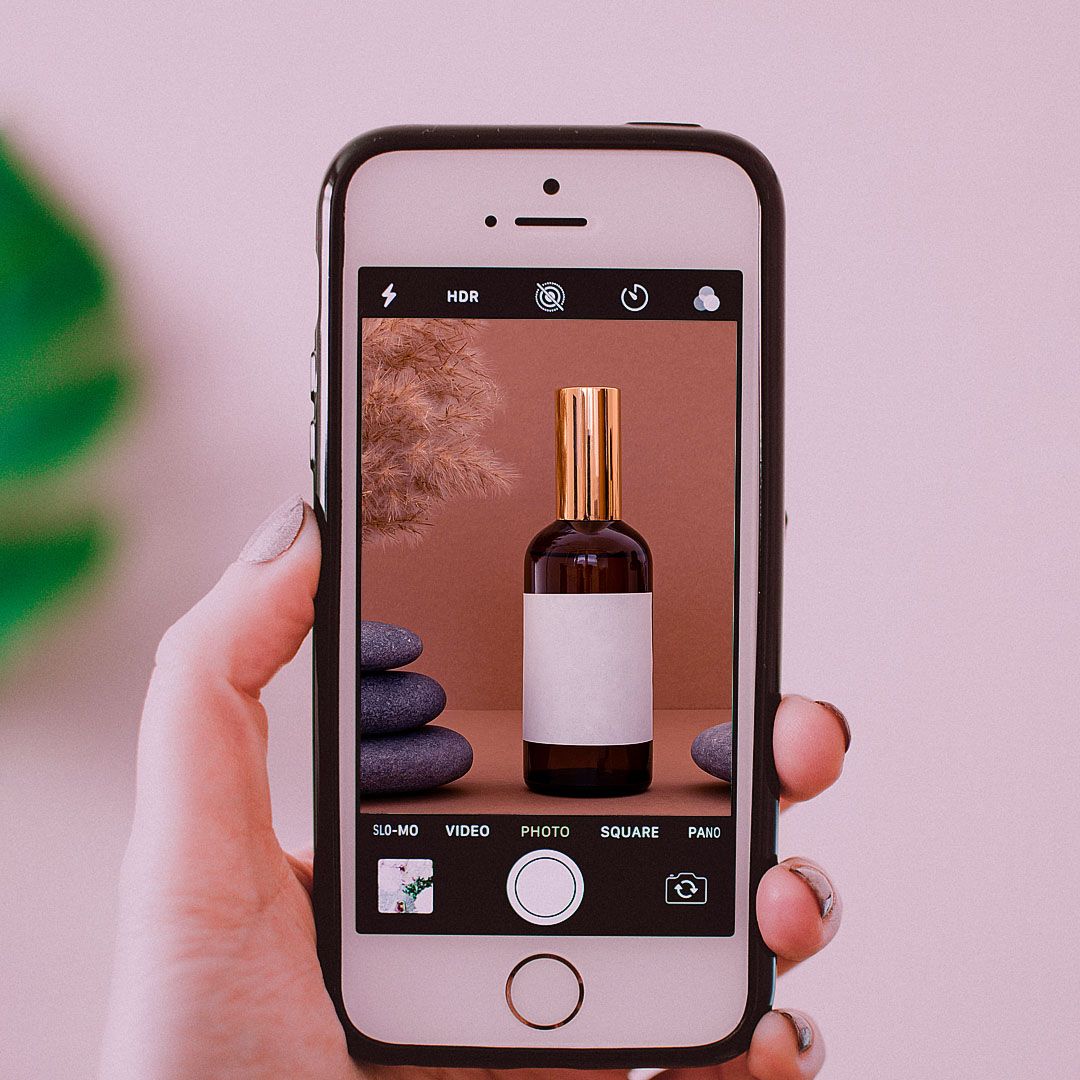
Step 1 - Plan the scene
Before you start clicking iPhone product shots, there are a lot of things that you will have to thoroughly plan and strategize. For starters, you might want to decide on whether you will be opting for an indoor or outdoor shoot. This is just the tip of the iceberg. You will have to plan the color palette, mood, aesthetics, lighting, and backdrops, among so many other things.
Step 2 - Execute the plan
Once you have the plan sorted, it’s time to execute it. Use all the tools and equipment required to achieve this. Additionally, also try and learn the basics of working your way around your iPhone camera to maximize your efforts. This could include learning about angles, auto exposure, saturation control, etc. For absolute beginners, you can also try to understand some photography pre-requisites like understanding The Rule of Thirds or the Golden Ratio.
Step 3 - Retouch, edit, and optimize
Your product photography journey using your smartphone camera does not end with just clicking the shots. You will have to edit, retouch, and optimize your product photos to get the best results and increase your eCommerce sales. You can start by fixing the lighting, alignment, and image ratio. Additionally, you can also reduce image file sizes to optimize them for your website.
How to use natural lighting for product photography
Using natural lighting for product photography can yield stunning results, capturing your products in a way that appeals to your audience. Here’s how to make the most of natural light for your product photography:
1. Choose the Right Location: Find a suitable location with abundant natural light. It could be near a large window, on a patio, or even outdoors. Ensure the light is diffused, which means it should be soft and not harsh. Direct sunlight can create harsh shadows and overexposure.
2. Time of Day Matters: The time of day affects the quality of natural light. Early morning or late afternoon often provides soft, warm, and diffused light. Avoid shooting during the harsh midday sun, which can create strong shadows.
3. Use Reflectors: Reflectors are valuable tools for natural light photography. They bounce light back onto the subject, filling in shadows and enhancing details. You can use white foam boards, aluminum foil, or purpose-made reflectors.
4. Diffusers: If the natural light is still too harsh, use diffusers to soften it further. Sheer curtains, white bedsheets, or photography-specific diffusers can be placed between the light source and the product.
5. Set Up Near the Light Source: Position your product as close to the light source as possible without causing overexposure. This maximizes the intensity of the light and minimizes the chance of unwanted shadows.
6. Experiment with Angles: Depending on the effect you want to achieve, experiment with the angle of the light source. Side lighting can create depth and texture, while front lighting provides even illumination.
7. Use a Reflector Card: A reflector card can bounce some of the natural light back onto the shadowed side of your product, reducing contrast and creating a more balanced look.
8. Adjust Your Camera Settings: Depending on the available light, adjust your iphone camera settings for product photography. You may need to lower your ISO to reduce noise, use a wider aperture (lower f-number) for a shallow depth of field, and adjust the shutter speed for proper exposure.
9. White Balance: Ensure your camera’s white balance is set correctly to match the color temperature of the natural light source. This prevents color casts in your images.
10. Tripod: To maintain consistency and sharpness, use a tripod. This is especially important if you’re using slower shutter speeds in low light.
11. Post-Processing: After capturing your images, consider post-processing to fine-tune exposure, contrast, and color. Software like Adobe Lightroom or Photoshop can help enhance your natural light photos further.
Using natural light for product photography offers a soft and appealing aesthetic that can highlight your products’ details and textures. With the right location, timing, and techniques, you can create professional-looking product images that resonate with your audience. Experiment and practice to refine your skills, and you’ll discover the magic of natural lighting in product photography.
Best camera angles for product photography
Selecting the best camera angles for product photography is crucial for effectively showcasing your products and conveying their features and aesthetics to potential customers. Here are some of the best camera angles to consider:
1. Straight-on or Frontal Angle: This angle provides a clear, unobstructed view of the product from the front. It’s ideal for showcasing the product’s design, shape, and details. Use this angle when you want to highlight the product’s aesthetics and make it the focal point of the image.
2. 45-Degree Angle: Shooting from a 45-degree angle, slightly above the product, adds depth and dimension to your product photos. It helps reveal the product’s contours, texture, and any surface details. This angle is commonly used for capturing three-dimensional objects like electronics, furniture, or jewelry.
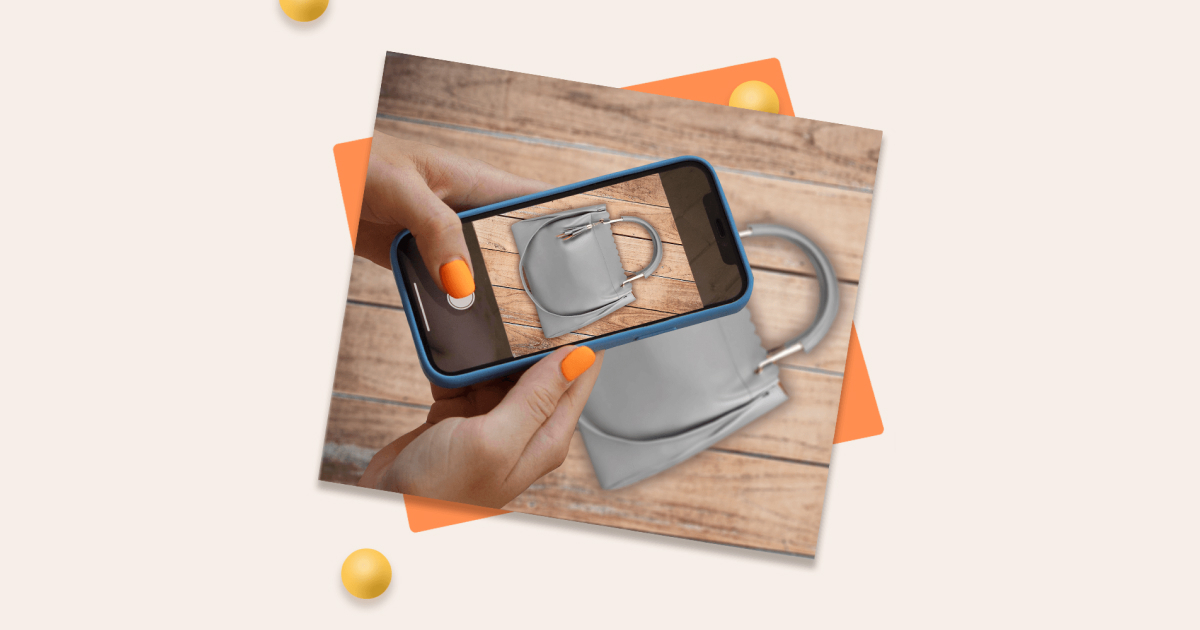
3. Top-Down or Overhead Angle: Also known as the bird’s-eye view, this angle involves shooting directly from above. It’s perfect for showing the entire product, particularly if the top surface has unique features or patterns. Top-down angles are frequently used for flat lay photography, such as for clothing, accessories, or food.
4. Side Angle: Shooting from the side offers a different perspective and emphasizes the product’s profile. It’s suitable for demonstrating the product’s thickness, size, and any side details. This angle is often used for items like books, gadgets, or packaging.
5. Close-Up or Macro Angle: Close-up shots capture intricate details, textures, and fine craftsmanship. They’re excellent for showing product quality and small features. Use a macro lens or feature on your camera for extreme close-ups, such as for jewelry, watches, or fabric patterns.
6. Diagonal Angle: A diagonal angle adds dynamism to your product photos. It’s slightly off-center and can create a more interesting composition. Diagonal angles work well for products that have angular shapes or dynamic elements.
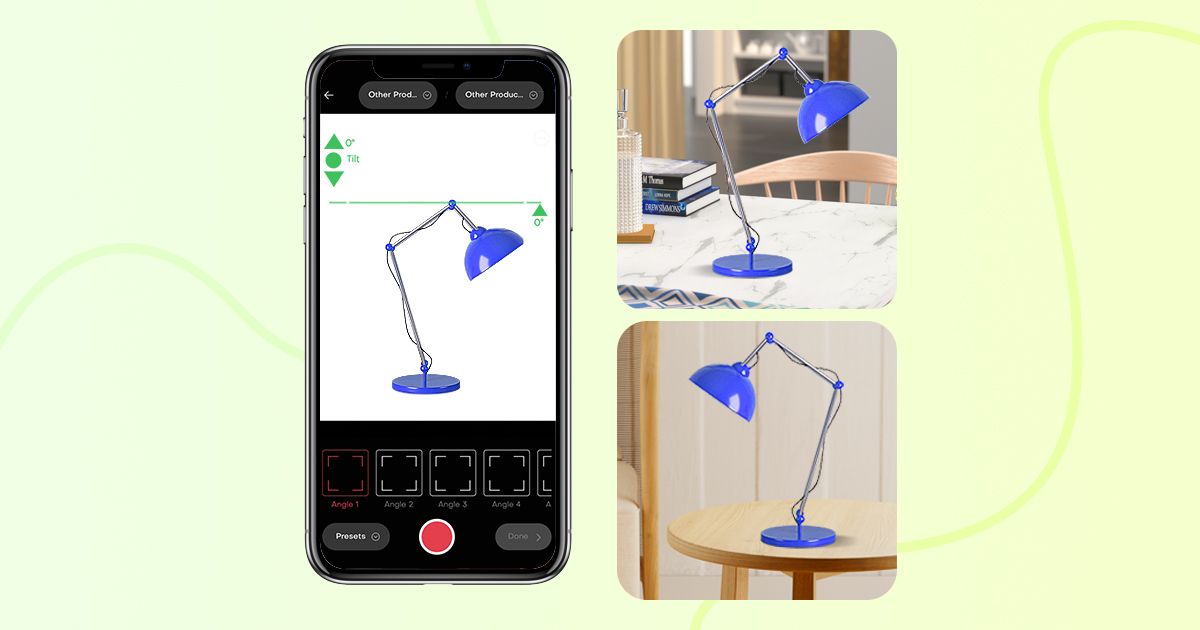
7. Environmental Angle: Sometimes, it’s beneficial to show the product in its intended environment or context. For example, a kitchen appliance in a kitchen setting or outdoor gear in a natural landscape. Environmental angles help potential customers visualize how the product fits into their lives.
8. Low Angle: Shooting from a low angle can make a product appear more imposing and powerful. It’s often used for items that have a strong and dominant presence, like luxury cars or tall buildings.
Remember that the choice of camera angle should align with your product’s characteristics, purpose, and target audience. Experimenting with different angles and perspectives can provide you with a range of captivating product images that effectively communicate your product’s unique selling points. Additionally, consider the lighting, background, and styling to complement your chosen camera angle and create visually appealing product photography.
How to edit product photos on iPhone
Editing your iPhone product photography is essential to enhance the overall quality and visual appeal of your images. While the iPhone camera is impressive, some post-processing can make a significant difference in the final result. Here’s a guide on how to edit your iPhone product photography effectively:
1. Use the Right Apps: Start by using photo editing apps available for your iPhone. Popular choices include Adobe Lightroom, Snapseed, VSCO, and Adobe Photoshop Express. These apps offer a wide range of editing tools and presets.
2. Adjust Exposure and Contrast: Open your chosen editing app and begin by adjusting exposure and contrast. Tap on the exposure slider and swipe up or down to brighten or darken the image. Balancing exposure and contrast is crucial to make your product stand out.
3. Correct Color Balance: Ensure accurate color representation by adjusting the temperature and tint sliders. Move them until the colors look natural and true to life. Avoid overly saturated or unrealistic colors.
4. Crop and Straighten: Use the cropping tool to remove any unnecessary elements from the frame and ensure the product is properly centered. Straighten the image if needed to correct any tilt.
5. Sharpness and Clarity: Enhance product details by increasing sharpness and clarity. Be cautious not to overdo it, as excessive sharpening can introduce noise and artifacts.
6. Adjust Saturation and Vibrance: Increase the saturation and vibrance slightly to make colors pop without making them appear unnatural. Find the right balance to achieve a visually appealing look.
7. Remove Blemishes and Imperfections: Use the healing brush or clone stamp tool to remove any dust, scratches, or minor imperfections on the product or background. This step is especially important for product photography.
8. Background Enhancements: If the background needs improvement, consider blurring it to create a shallow depth of field effect. Some apps offer a background blur tool or filters that can help achieve this.
9. Apply Presets or Filters: Many editing apps provide presets or filters that can give your product photography a unique style. Experiment with different options to find a look that suits your brand or product.
10. Save and Share: Once you’re satisfied with your edits, save the image at the highest quality possible. Use the “Save a Copy” or “Export” function in your editing app. Share your beautifully edited product photos on your website, social media, or online store.
11. Back Up Originals: Always save a backup of your original, unedited photos in case you need to make further adjustments or reuse them for different purposes.
Remember that editing is an art, and practice makes perfect. Don’t hesitate to experiment with different editing techniques to discover your unique style and achieve the desired look for your iPhone product photography. Over time, you’ll develop a better understanding of how to edit your images to make your products shine.
5 Tips for setting up a winning product photography shoot with your iPhone
While the iPhone camera by itself is a great asset to taking professional-looking product photos, you will still have to master a few smartphone camera settings along with other handy tips and tricks to take the product photos that will boost your conversion rates.
Here’s a list of some of the most useful tips to have up your sleeve.
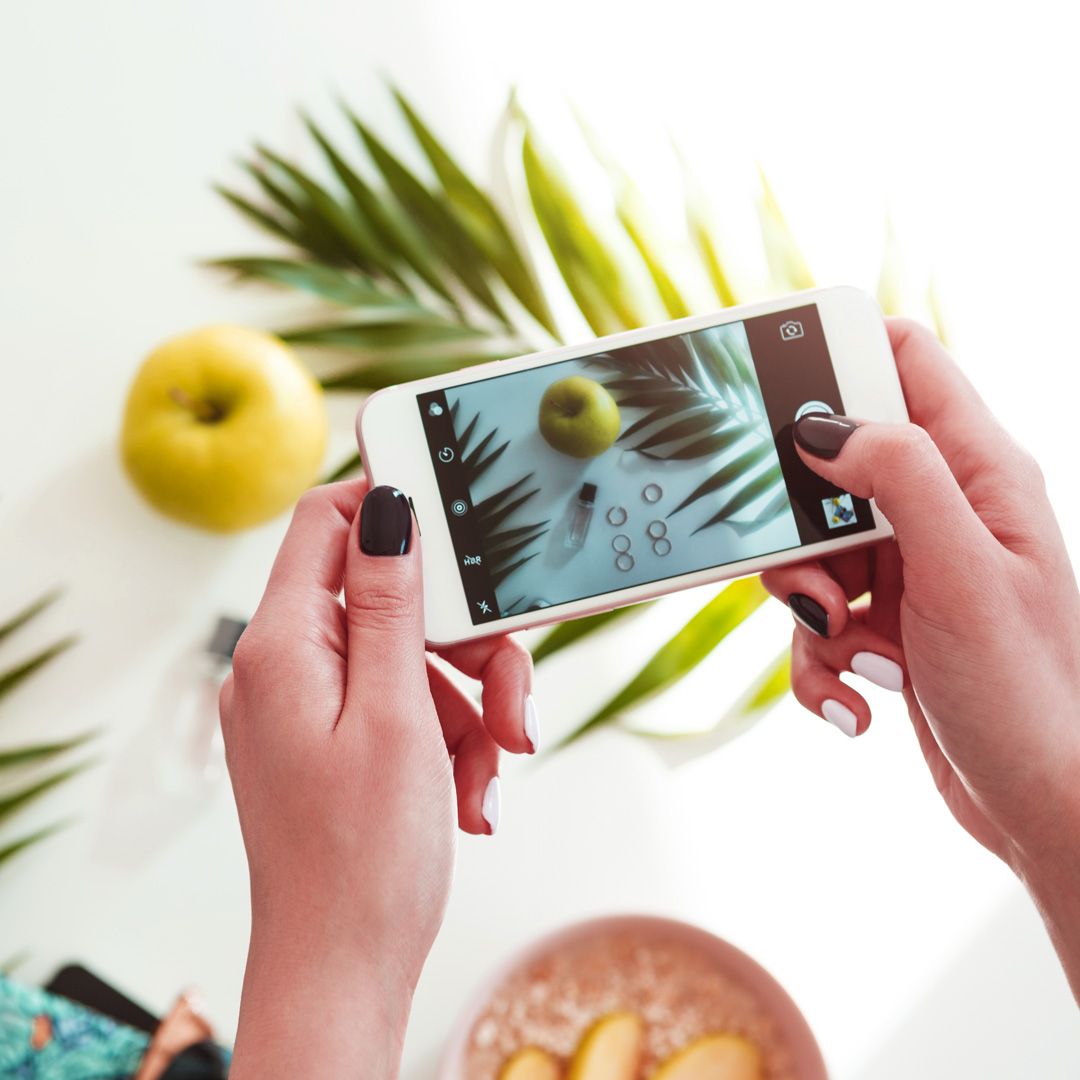
Tip 1 - Leverage the Auto Exposure/Auto Focus feature
The iPhone camera is built to make photography easy. The Auto Exposure/Auto Focus feature helps you shoot sharp and bright images. Just tap and hold down on the screen where you want to focus. You will be able to see a yellow square along with a sun icon that will appear around that area. Move the icon up or down to increase or decrease the exposure.
Tip 2 - Prioritize lighting
Your mobile photography lighting is going to help set the right focus and mood for your product photos. You can either use natural light or an artificial source like a lightbox.
Tip 3 - Make use of a reflector
Reflectors can be a powerful tool in improving your photography. Fill in shadows and create even lighting to take product shots. You can make use of simple items like foam boards to achieve this.
Tip 4 - Try taking 360° photos
360° product photography lets you capture your product from every angle. This is an interesting add-on to your website that helps enhance the UX of your online store. You can take these photos using your iPhone’s built-in camera using the panorama feature or buy additional hardware that is specifically designed to shoot 360° shots.
Tip 5 - Do not zoom or use filters
To get the best results, don’t zoom or use any filters or other fancy editing techniques. You want your product photography to be clear, simple, clean, and accurate. To achieve this, it’s best to work around the natural feel of the pictures.
Some useful iOS apps to improve product photography
While the iPhone camera by itself is a great asset to take professional-looking product photos, you can make these results even better by using a few editing apps that you can download on your iPhones to improve the images clicked. By using these applications, you will be able to execute your iPhone photoshoot ideas at home in a much more efficient and seamless manner.
Here are some of our favorites -
- DoMyShoot
- Photoshop Express
- TouchRetouch
- VSCO Cam
Conclusion
Over 90% of online shoppers believe that product photo quality is the most important factor in the eCommerce sphere. In fact, 75% of them base their purchase decisions on the product shots used. With smartphone photography growing to become the future of eCommerce, the question really is can iPhone product photography help you achieve the same results?
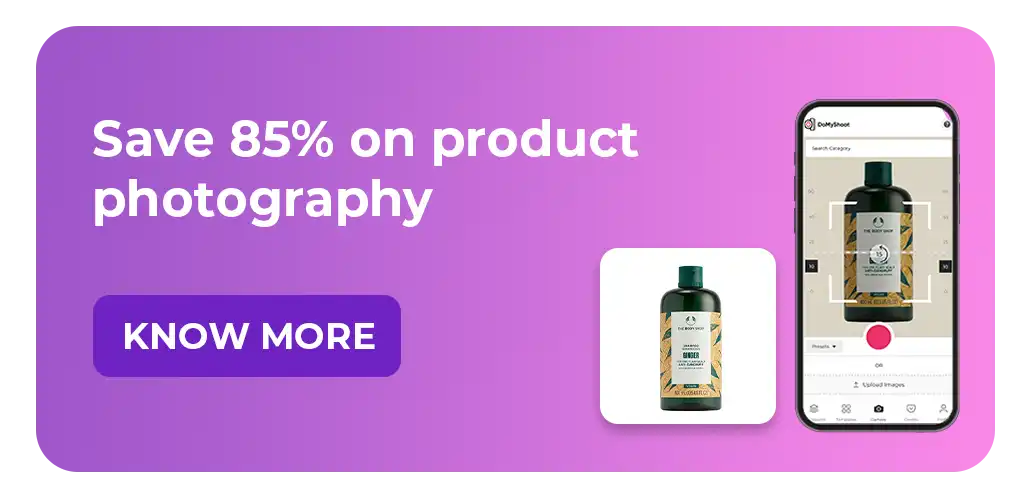
With tools like DoMyShoot, you can now easily take control of your eCommerce images. It is undoubtedly the best app for product photography today. This all-in-one solution for custom outputs of your product photography can help you improve your conversion rates with just a few taps.
You can book a demo today and take the first step towards enhancing your eCommerce product photography.
