Excellent product photographs have the power to turn visitors into customers.
As an online seller, your customers cannot physically be present to touch and see the product. Hence, product photography is one of the best ways to showcase your products to buyers online worldwide. Additionally, when it comes to product photography, the best way to enhance the quality of your photographs is by learning and implementing the different types of photography techniques available. This article discusses the different types of photography available for online sellers.
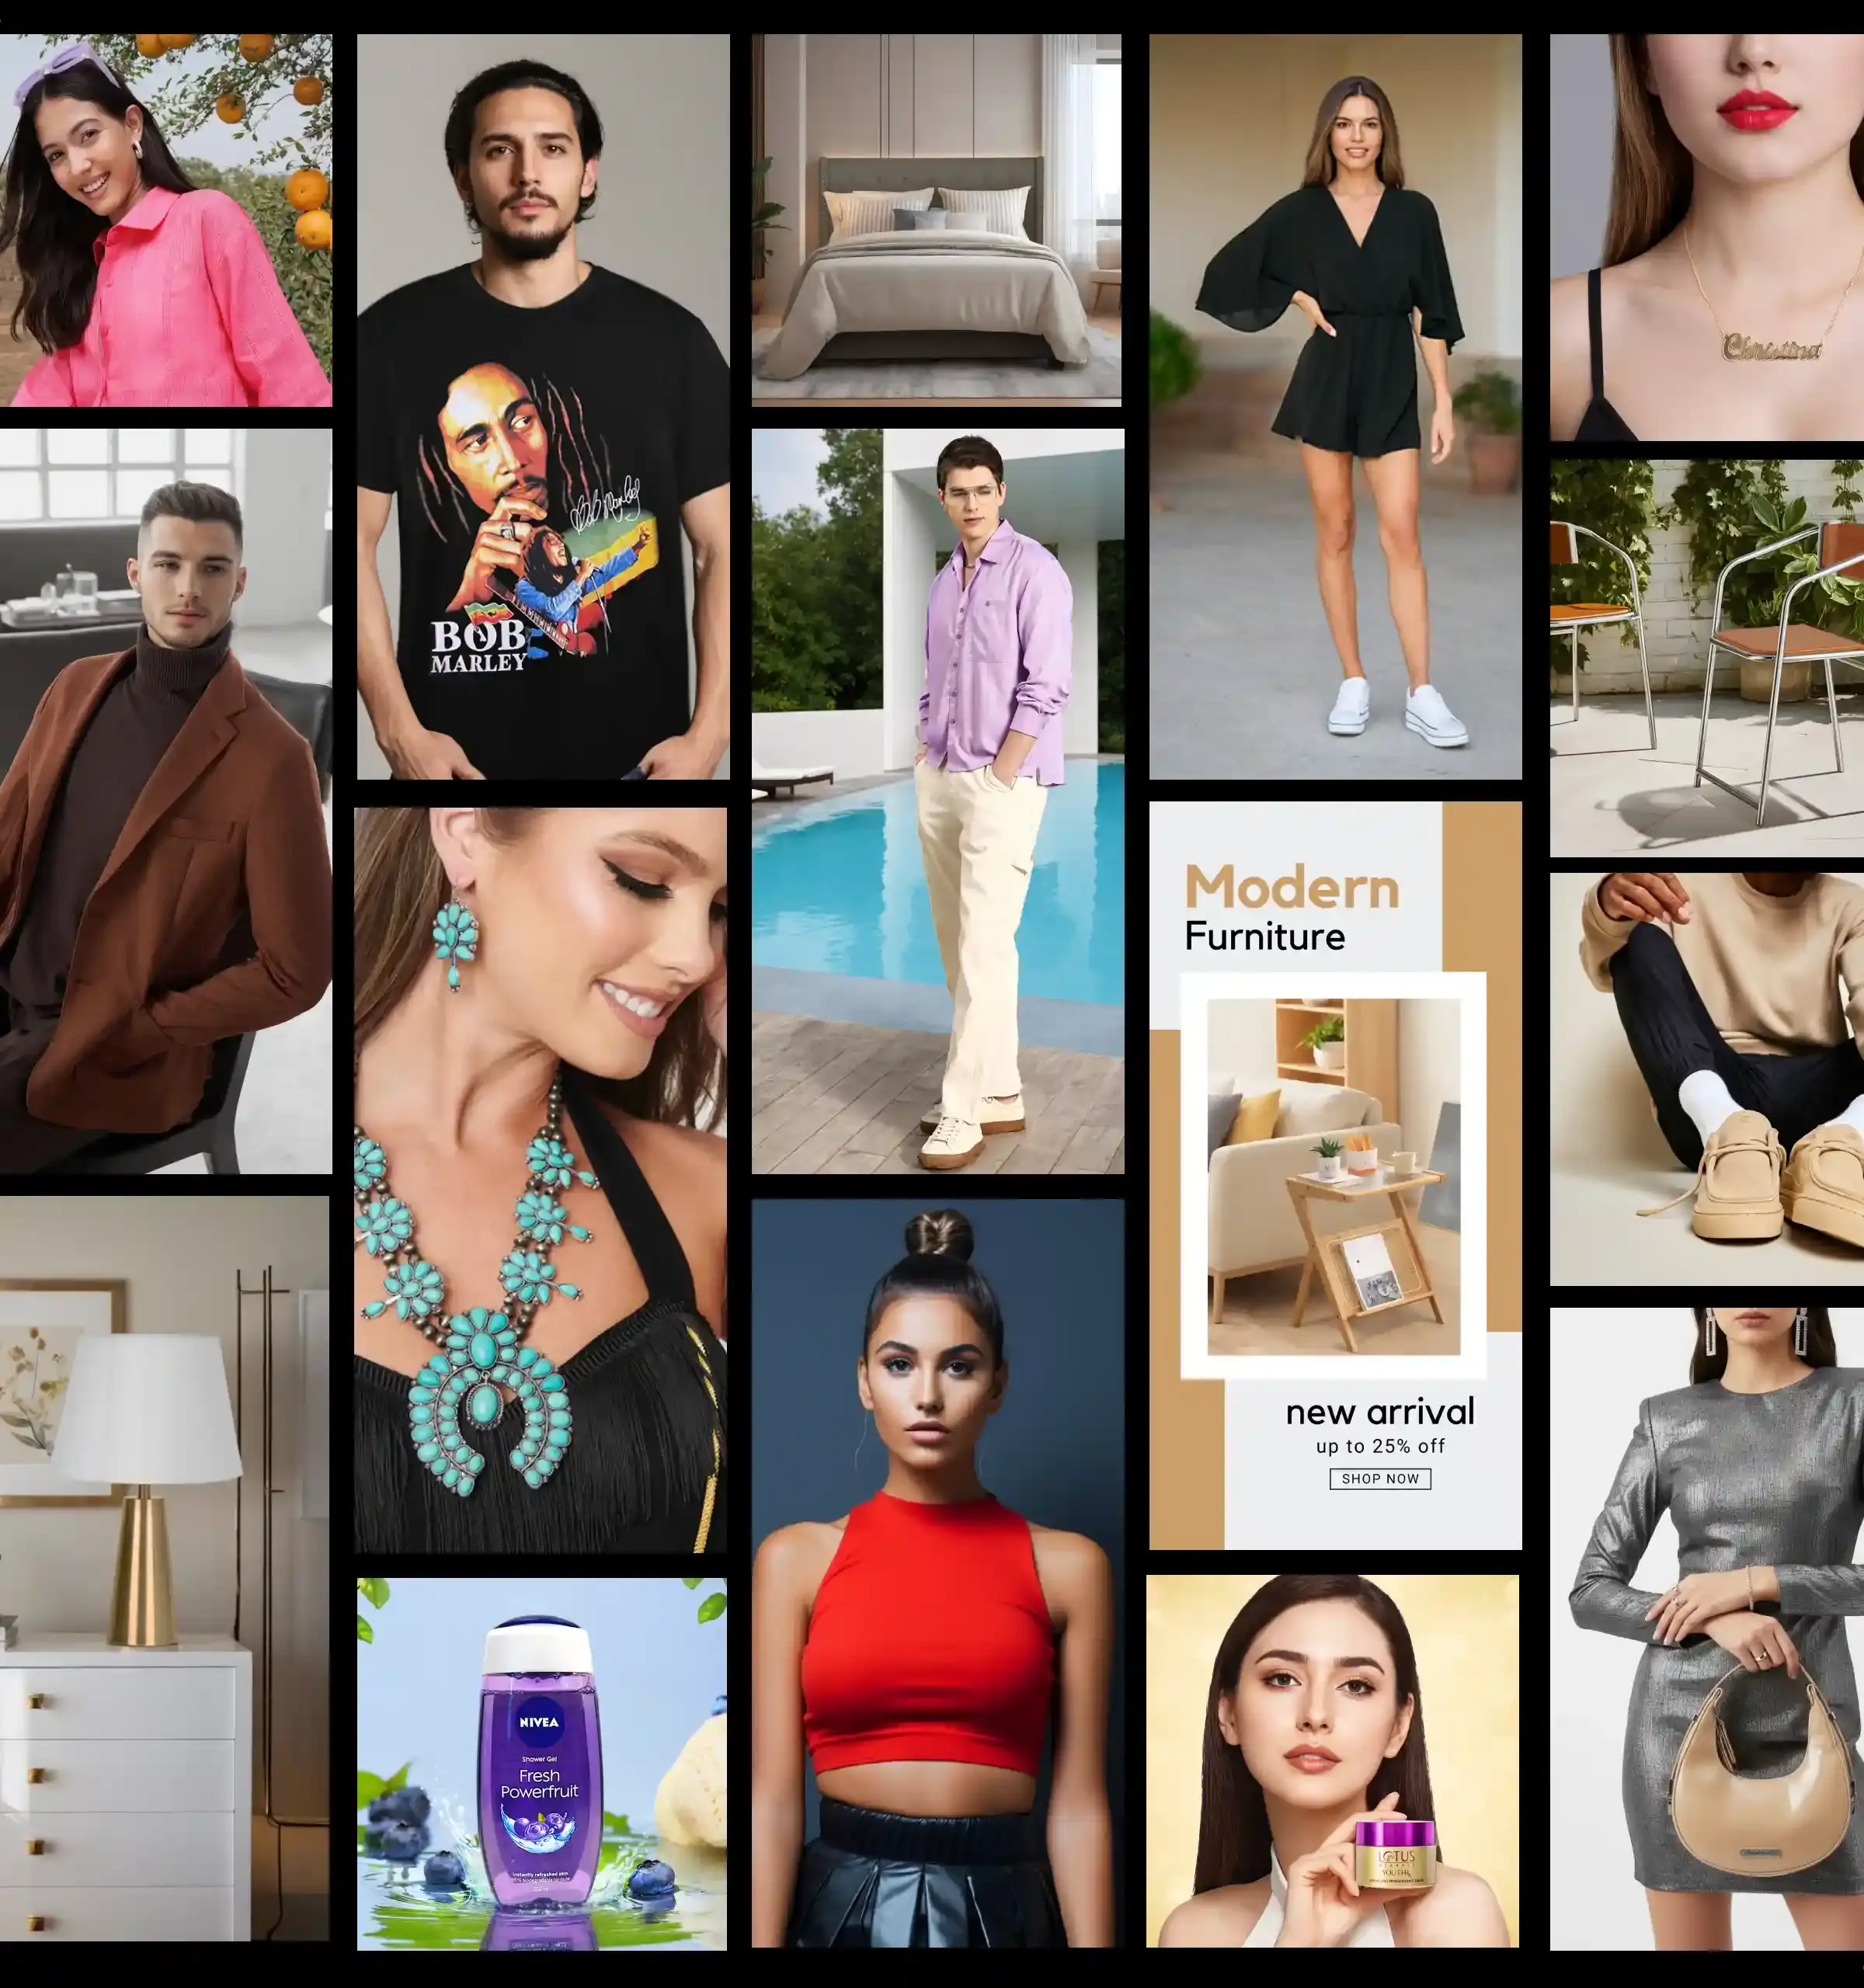
Some of the different photography types we will learn today include flatlay, fashion, jewelry, food, furniture, mannequin, and lifestyle photography.
75% of the time, consumers look at the product photograph before purchasing the product. This means that your product photograph should -
No matter your niche, the different types of photography techniques we discuss today will give you insights into how you can make the most of your eCommerce website or product listing.
Additionally, different marketplaces have different image guidelines. Toward the end of the blog, we discuss how you can easily create product photos as per various ecommerce marketplace guidelines.
In this guide to types of photography styles, you will learn about:
Before unveiling the different types of photography, let's first understand the importance of product photography in today's eCommerce world. In the following section, we discuss the importance of product photography for online sellers.
Below are seven reasons product photography is vital in today’s eCommerce world.
SEO works for texts and images alike.
Adding product images to your website or product listing with relevant Alt-Text can boost your image's visibility online. Just like how SEO is used to increase a product's or website's reach, similarly, search engines help boost the rank of well-optimized product images.
When words fail, use photographs.
Your product's hero image is one of the first things your audience will see when they visit your website or product listing. Additionally, you can use more product photographs to display your product's features in the extra image slots provided. You can also zoom in and focus on the type of material used to help potential customers understand the quality of your product.
A clear and high-quality image helps your audience decide about your product. On the other hand, using images that are of poor or sub-par quality impacts the perception of your product and brand.
Use your product images to make a statement.
Many online sellers create product images depending on their brand's values or product type. For example, if you are selling an air freshener that smells like lavender, then taking a photo of the air freshener with a lavender field in the background increases the impact the image has on your audience to show the freshness of the lavender.
Similarly, if you are selling a sustainable product, adding a picture of nature in the background promotes naturalness and will help the audience understand that your product is nature-friendly.
Flaunt what your product's got.
One of the best ways of flaunting what your product has is by having pictures of your product from different angles. The more knowledge your audience has about your product, the easier it is to sell it to them. Most buyers want to understand what they will spend on before purchasing it. Having pictures of your product from different angles allows your audience to appreciate its size, quality, and features better. Also, the more images of your product you have, the better it helps solidify their decision about purchasing your product.
Online buyers may only sometimes go to read the product description.
Hence, adding an infographic highlighting your product's unique selling point, features, and other essential details is also crucial. This simple trick can help you stay one step ahead of your competitors.
Product images give you an edge over your competitors. By optimizing your product image, you stay ahead of the curve by trusting images.
Buyers scan multiple products to narrow their options when searching for a product online.
Having an optimized product image, pictures taken from different angles and styles increase the chances of buyers choosing your product over your competitors. While having a poor-quality product image can often be looked at as poor product quality. Thus decreasing your chances of selling your product online.
Your product image should be as informative as possible.
Product images help users understand the product quality better. High-quality images allow you to easily make your product's variants, designs, dimensions, colors, etc visible. As mentioned above, excellent product photography also helps customers make informed purchases.
For example, if your product photo focuses on your product's design, stitches, and finishing, it increases your likelihood of converting your buyer to a customer. Now, let's look at the seven types of photography styles you can experiment with for your online
shop. We will cover
Flatlay photography is one of the easiest and the most widely used photography methods in the eCommerce world today. Flatlay photography is also called bird's eye view photography because it takes the top shot of the product on display.
How to shoot a flatlay photography
A. Prepare your base
You can use any flat surface as the base here.
A coffee table, the floor, a sheet, cardboard, etc. Using a neutral or a minimal colored background helps make the items placed on it stand out. Using a highly colored background could lead the items in the photograph to get lost in the shot. A simple white kitchen or bathroom tile should do the trick too.
B. Add textures and layers
Once you are done preparing your base, it is now time to add some colors and texture to your frame.
C. Arranging your subject
You can start by arranging your main subject in the middle of the frame and then add the complementing elements beside it. For apparel brands, be mindful of adding only a few complementing images around your subject to make sure the buyer understands what exactly is on sale.
The following examples show how three different product categories can make the most of flatlay photography.
A. Food
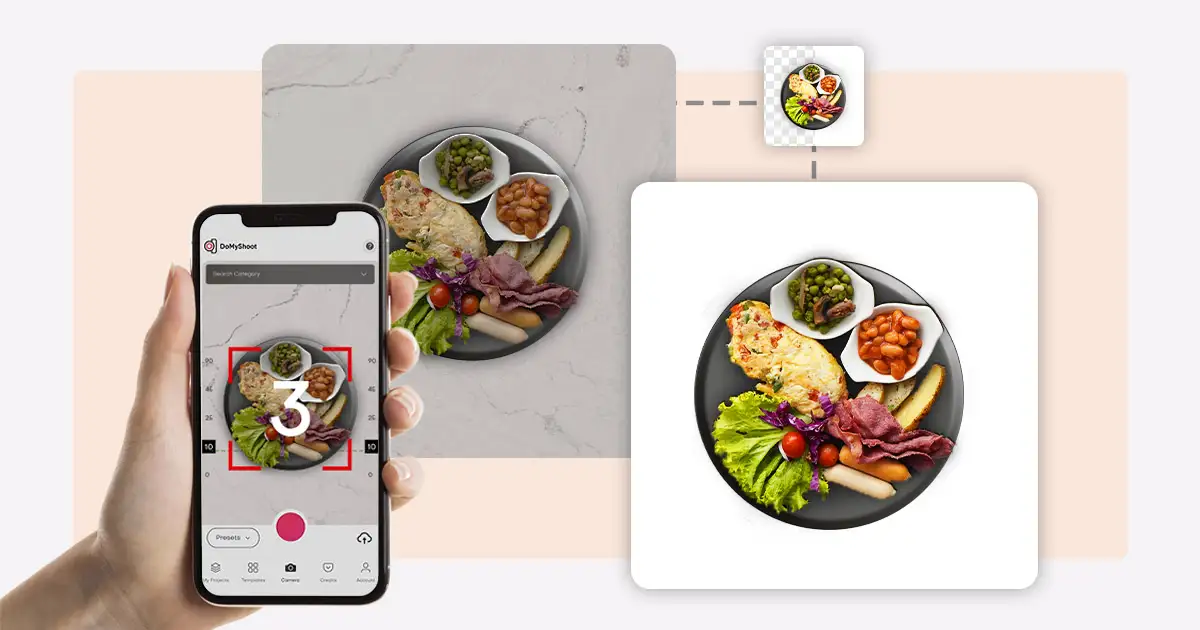
If you are a food brand, you can use the flatlay method of taking product photos. All you need to do is place the food in a bowl or a plate, depending on the type of dish. You can have more than one dish in the frame or add props relevant to your dish. For example, suppose you are photographing a pan of pizza. In that case, you can have a complementary side dish beside it, or if you're photographing a dish made of strawberries, you can use natural or artificial strawberries as props in the frame.
B. Cosmetics
Cosmetics is another category that can benefit from flatlay photography. Place your product horizontally on a flat white or colored surface and photograph it. Black sand, satin cloth and rugs also work as perfect backgrounds for cosmetics.
C. Apparel
Flatlay photography is popular among online apparel sellers, regardless of the platform you are selling it on.
If you are an online seller looking to portray your clothing and accessory brand online, fashion photography is what you can learn all about here.
Below we discuss other brand categories that can also benefit from fashion photography! However, before that, first, let us understand what fashion photography is and how to make the most of it.
Designers, models, and various fashion artists use this photography style to portray their work, put together pieces of work to create a new style or express a statement. Just like how Horst P. Horst, a famous German- American fashion photographer, quotes:
"Fashion is an expression of the times. Elegance is something else again."
High-end fashion brands allocate millions of dollars for photography. These brands are very particular about how their brand comes off on their website, social media, or product listings. These brands want to ensure that customers recognize the brand when they look at their products.
Some brands edit their images to one color code or aesthetic to ensure their product photos have a consistent theme.
A lot goes into planning fashion photography. If you use a model for your shoot, you must organize their makeup, hair, wardrobe, and accessories.
A. Have good lighting
Lighting is one of the elements in a product photoshoot. However, that doesn't mean you must break the bank to get the best lighting. One source of light should work fine.
B. Make the most out of daylight
By far, the best light source is the sun. Anytime during the early morning before 9 am and late evening before 6 pm is an excellent time for a fashion shoot outside. These golden hours give better natural lighting than any other day.
C. Try not to mix lighting
If you are using artificial lighting, stick to that. If you are using natural lighting, stick to that. However, avoid mixing up the two light sources as artificial light won't be as effective for an outdoor shoot, and mixing both light sources can create an imbalance in the shadows and won't be as effective as a single light source would be.
D. Prepare your model
Fashion photography doesn't necessarily need to have a model. However, if you decide to have a model, ensure your model's outfit is picked appropriately not to camouflage your product. Similarly, ensure your model looks presentable with the help of some light makeup (or heavy makeup, depending on your photoshoot theme).
E. Pick the proper camera
Choosing your camera is just as important as lighting. You need a camera that will deliver high-quality results. Canon EOS 5DS R is an excellent choice if you are looking for a camera that will give you depth of field and high ISO.
Examples of how different categories can use fashion photography to their advantage:
A. Glasses/Spectacles
If you are an online business selling spectacles or sunglasses, you can have a model wear your frames and have a shoot in a social setting or a studio.
B. Cosmetics
Fashion photography is also best used when marketing cosmetic products like lipstick, nail polish, mascara, etc. You can use a hand model of products like nail polish.
C. Shoes
Fashion photography and shoes, more often than not, always go hand-in-hand. If you are an online seller selling shoes, using models wearing your product can help add flair to your overall photoshoot.
D. Jewelry
While for fashion photography, using jewelry on models has always been practiced by many brands, some brands take this a step ahead by dressing up their models for a particular occasion. Thus adding a story to the otherwise bland shoot. You will often see models dressed up as bride and groom and wearing wedding jewelry or a mother and daughter posing beside each other wearing jewelry.
Food photography, while one of the most pleasing to the eye, is also one of the most challenging photography styles compared to the rest.
Fine details need to be worked on when photographing food. The lighting and the effect (Eg, the smoke effect) must be minutely worked on. Mostly when we photograph food, a lot is happening in the picture. We have our main dish, the plating, and the other spices, condiments, and props we use to make the image pop out and not look dull.
One photography style that complements food photography well is flatlay photography.
A. Have a subject
Your subject for food photography will usually be the main dish. Place your main dish in the middle of the frame and have complementary food, spices, and sauces around it to elevate the look and feel of the entire image.
B. Avoid clutter
Try to have only a few dishes of props around the main dish to avoid clutter. Keep the surrounding of the main dish clean and minimal.
C. Use fresh ingredients
When it comes to food photography, your dish, and the ingredients should look rich. Fresh vegetables will give your food photographs a better effect. On the other hand, using spoilt or stale vegetables will not help get the desired result.
D. Choose your angle
Most food photographs are taken from the top, i.e., flatlay pictures. This angle is perfect to cover all the sides of the dish well. The other two best shots are the side angle view and the 45-degree angle. Not all angles will show off the best side of your product. Pick an angle that shows off your dish the most.
E. Experiment with your lighting
Whether new to food photography or having some expertise, you must experiment with your lighting. Try front, back, and side lighting to see what makes the food look better.
Some product categories that can benefit from food photography:
A. Books
Books are often photographed with a coffee by its side or with a charcuterie board, or often with a picnic or some dish. Photographing books with food will work best when you take a shot from the top (flatlay photography)
B. Bakery and Confectionery
If you are a brand selling baked goods like cookies, cake, etc, you can make the most out of food photography. The best angles for this photograph are the top shot, the side shot (90-degree angle/flatlay shot), and the 45-degree angle shot from the top side.
C. Spices and condiments
Another brand that can benefit from food photography sells spices and condiments. Check out how India's household brand has done this.
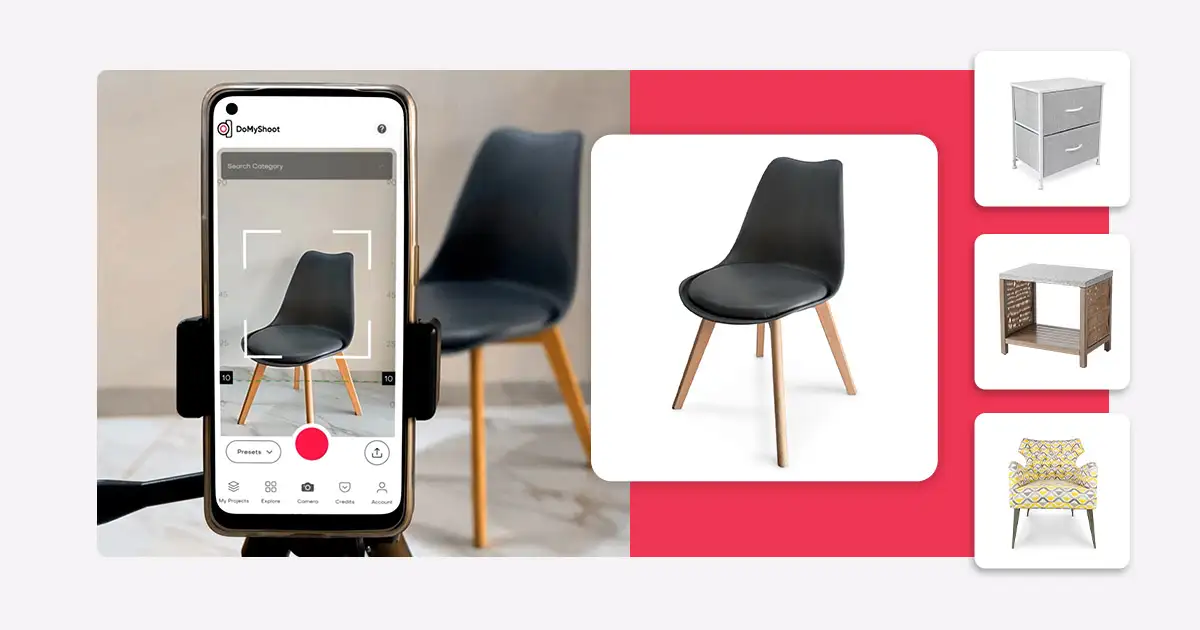
Furniture photography is popular among online furniture brands or people who want to sell handmade furniture. Regarding furniture photography, taking pictures of furniture from different angles helps capture different designs and textures.
A. Prepare your furniture
It is important to note that before you start with your photoshoot, it is vital that you clean and polish your furniture before the shoot. Just like how you prepare your house before a big occasion, your furniture should look top-notch on the day of the photoshoot.
B. Choose a location
Location is vital when photographing furniture. Generally, natural light is the best light source for furniture photography. You can use reflectors to direct the lighting. However, there may be days when the weather may not be in your favor. On days like those, photographing furniture in the studio is the next best option.
C. Lighting
Natural lighting is always the best option for the photoshoot. However, if you are shooting in a studio, you can use fill light to get the best focus on your product. The purpose of using fill light is to get rid of dark shadows.
D. Keep minimal props
Using props during furniture photography is always a good choice. However, keep the props minimal to keep the focus on your main furniture. Adding a plant(s) is the best way to improve your image’s overall aesthetic.
E. Use presets during post-production
After photographing your furniture, the next step is editing your product image. The best way to speed up your editing process is by saving a preset beforehand. Presets ensure consistent product images on your website or social media.
Brand categories that can benefit from furniture photography include:
A. Real estate
If you are a real estate agency looking to market its estate online, the best way to make your listing stand out is by focusing on how you display it online.
B. Home Decor
Right after real estate is home decor brands, check out how Bobby Berk has made the most out of furniture photography and used that to market his service.
C. Paintings/Artwork
Photographing paintings and artwork is another area where you can use the method used to photograph furniture. Paintings and artwork, too, when on sale, need to be photographed in a way that highlights their textures.
A jewelry photoshoot is a tricky shoot. However, with the right guidance, you can pull this off.
Additionally, Jewelry photography doesn't require you to invest in heavy equipment. A few easy props should do the trick.
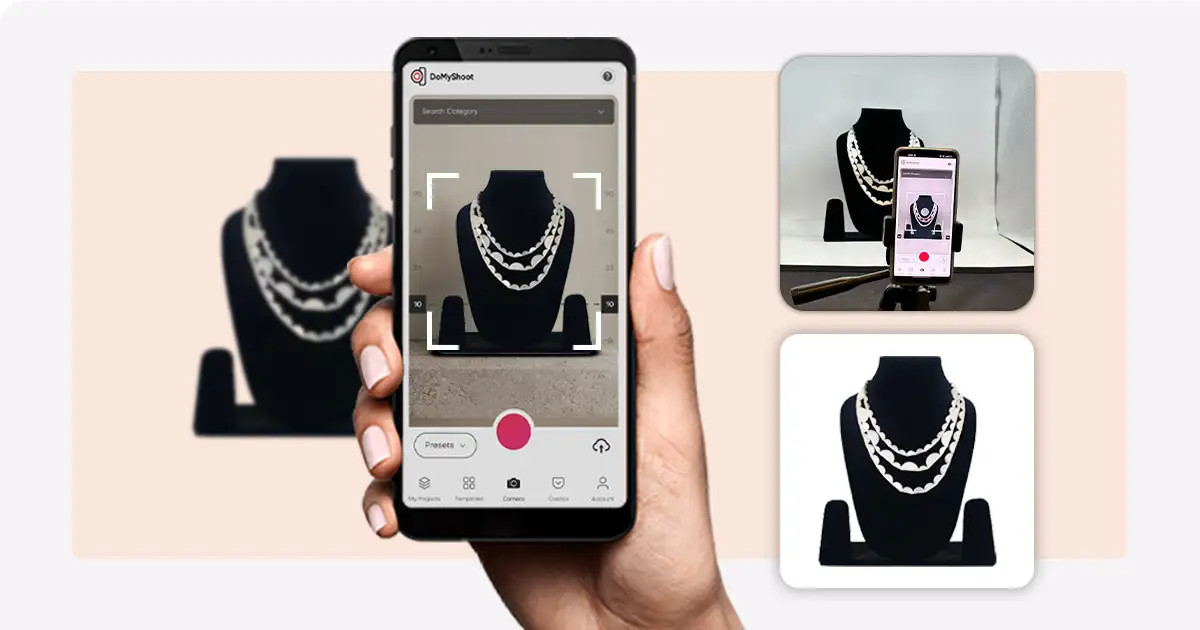
When it comes to jewelry photography, ensure you have a simple background. Use minimal or just one prop to keep the attention away from your product. Lastly, ensure your photos are consistent.
Some of the best backgrounds for jewelry photoshoots include wood, black sand, satin cloth, and plain white/black backgrounds.
A. Lighting
Use soft, diffused lighting and reframe your shot for beautiful photos and videos.
B. Macro Lens
Use a macro lens or macro mode to capture intricate details up close.
C. Steady Setup
To prevent blurriness and ensure that your shots are stable, it is recommended to use a tripod.
D. Composition and Editing
Try different angles, play with focus and design, and then edit your photos to make the colors pop and the details crisp for a professional finish.
Some product categories you can use jewelry photography method include:
A. Deodorant
If the deodorant a brand is selling has an ocean smell. The photoshoot can be on a beach or be kept on the sand. For luxury products, the shoot can be done at a studio with black lighting or use a satin cloth as a prop.
B. Watches
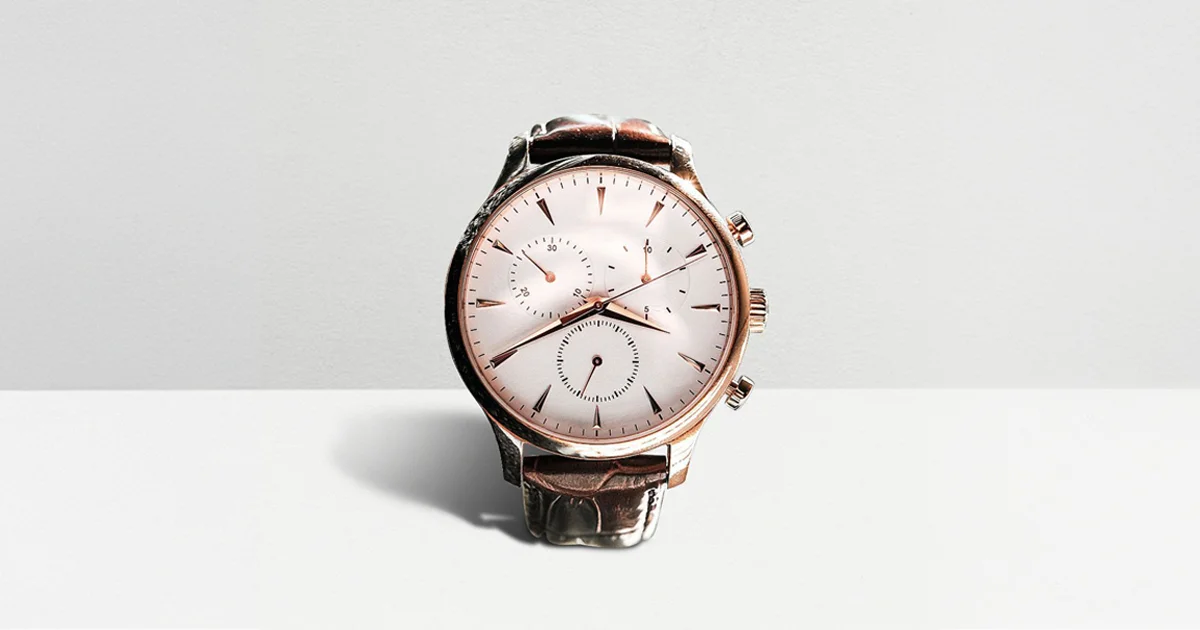
Brands selling watches again can use the same method for product photoshoot. Wood, black sand, and satin cloth are excellent backgrounds for photographing watches.
C. Car or Bike
Many automobile brands have photoshoots in studios for a black background to increase the intensity of the look.
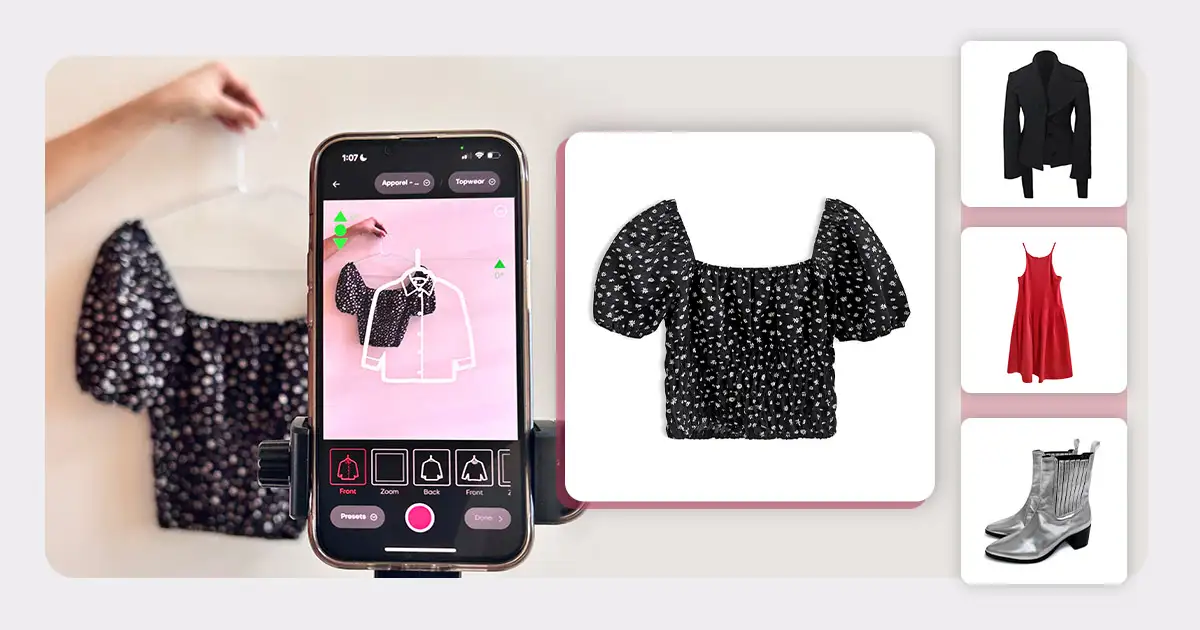
This photography style is also known as the Ghost Mannequin technique.
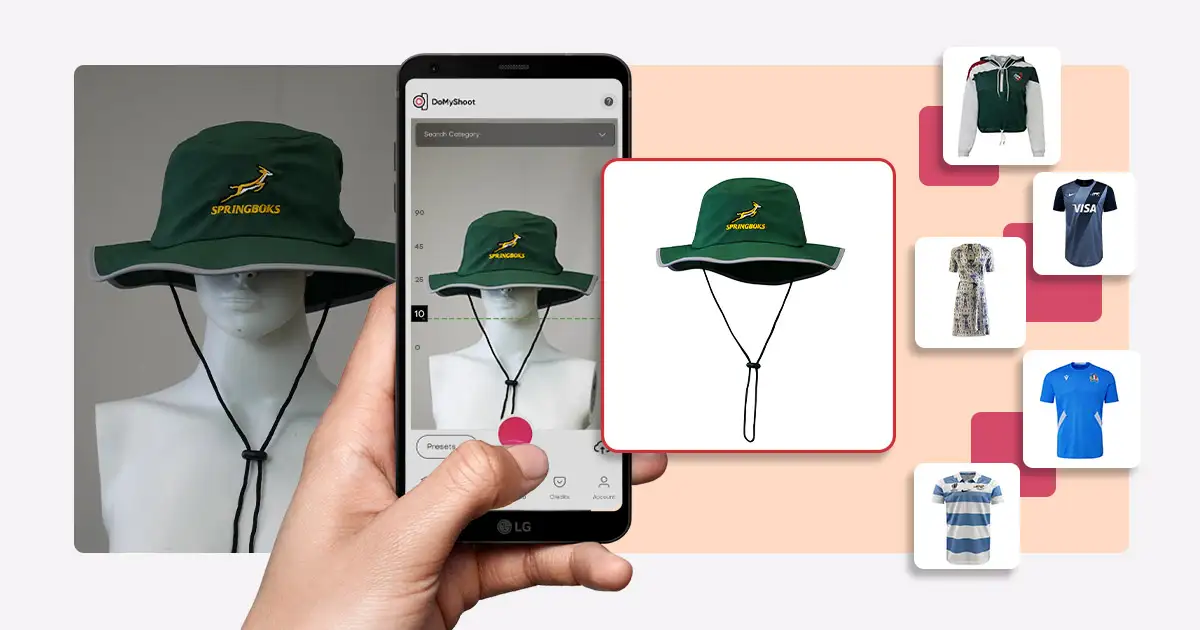
It allows you to take pictures of your product (most apparel) on a model or a mannequin and then remove the mannequin in the post-production process.
A. Cost efficiency
Since you do not have to hire a model, the overall cost of production can come down significantly.
B. Transparency
Buyers like to get what they pay for - quality-wise. Mannequin photography allows your potential customers to imagine themselves wearing your apparel. It will enable your customers to understand the exact size, pattern, and look at the time of purchase.
C. Consistency
You can use this technique across all your product images. As an online seller, consistently using one image editing technique across your product listing or eCommerce website gives your brand a professional look. This, in turn, helps your customers trust you better.
D. An advantage over competitors
Mannequin photography is a different technique than the techniques we usually use. This photography technique allows you to show your product to your customers as it is. Most brands use a model to shoot their apparel or a flatlay photography technique.
A. Preparation
Ensure the clothing is positioned correctly on the mannequin. We recommend using a tripod to maintain consistency when using a camera.
B. Capture Front and Back
The front should be shown with the mannequin visible, and the back should be taken after the mannequin is carefully removed. It creates the illusion of a "ghost mannequin."
C. Editing
After the photo has been taken, it is combined in post-production using photo editing software. A seamless look can be achieved by erasing the mannequin parts and blending the edges.
D. Consistent Lighting
For a polished outcome, ensure the lighting is consistent in both shots to prevent any shadowing. Using either natural lighting or a diffused studio lighting setup is recommended for a professional appearance.
Some brand categories where you can use the mannequin photography technique
A. Shoes
Sportswear, apparel, and innerwear are some categories that already make the most out of the mannequin technique. However, products like shoes, canvas, high heels, ballerinas, etc., can also make the most of this photography style.
B. Umbrellas and rainwear
Umbrellas and rainwear brands are another category that can use the mannequin photography technique, especially when marketing their products during peak season.
Lifestyle photography captures the simplicity of daily life.
This photography is primarily done to turn ordinary moments into extraordinary ones. Each photograph tells you a new story. Bloggers, lifestyle photographers, resorts, and hotels use this photography to advertise their brands.
These photographs can be as simple as a
A. Get select the right environment
The environment you shoot in depends on what product you are photoshooting for. If you shoot for a sports product or travel photoshoot, an outdoor setting will make more sense.
However, an indoor photoshoot would make more sense if you photograph appliances, home interiors, or furniture.
B. Clean up, but not too much
Lifestyle photography is supposed to capture the raw and candid part of life. This involves capturing moments as there are. While it is recommended to leave things as naturally as they are when photographing these moments, it is also necessary to see that there is not too much mess in the background so the photograph does not come shabby-looking.
C. Photograph from different angles
Don't stick to one side or one angle for a lifestyle photoshoot. Photograph the same setting from different angles. If it helps, have more than one photographer. If getting two photographers is not an option, you can work with one photographer just as fine.
D. Don't wait for the perfect shot
This trick works like a gem. Don't wait for your models to pose perfectly for the shot; this isn't the 1800s. Most cameras allow you to take burst shots or multiple photos simultaneously. Take as many pictures as you can. This method assures that you get at least a few selected perfect images.
E. Keep your subjects engaged
If your subjects have nothing to do during the shoot, they will feel awkward, mainly if they are not used to a photoshoot. The best thing you can do here is to give them something to do. If you photograph a family, give them a fun topic to converse amongst themselves. Have the sportsperson engage in the sport or activity for a sports shoot.
Product categories that use lifestyle photography include:
A. Home and kitchen appliances
Products are best sold when you tell a story through your pictures. Home and kitchen appliances, when photographed with a family having a good time, help potential customers picture themselves using the product.
B. Sports
More people now than ever are health conscious. Having a model pose when gyming, swimming, or running positively impacts customers who picture themselves wearing this apparel or using sports equipment when exercising.
So far, we have learned about the different types of photography. In the following section, we are going to learn about
DoMyShoot is a product photography application to help online sellers create high-quality product images within seconds.
After a product photoshoot, sellers often wait for days or weeks before receiving the product images. Not only does DoMyShoot help capture product images, but the DoMyShoot team will also help edit the shoot for you to make it marketplace-ready. Once done with your shoot, the DoMyShoot team will deliver this to you via email within 24 hours.
1. 1000+ templates
Whether you are shooting an indoor shoot, outdoor, lifestyle, or jewelry shoot, DoMyShoot has 1000+ templates from 20+ product categories.
2. It is a mobile app
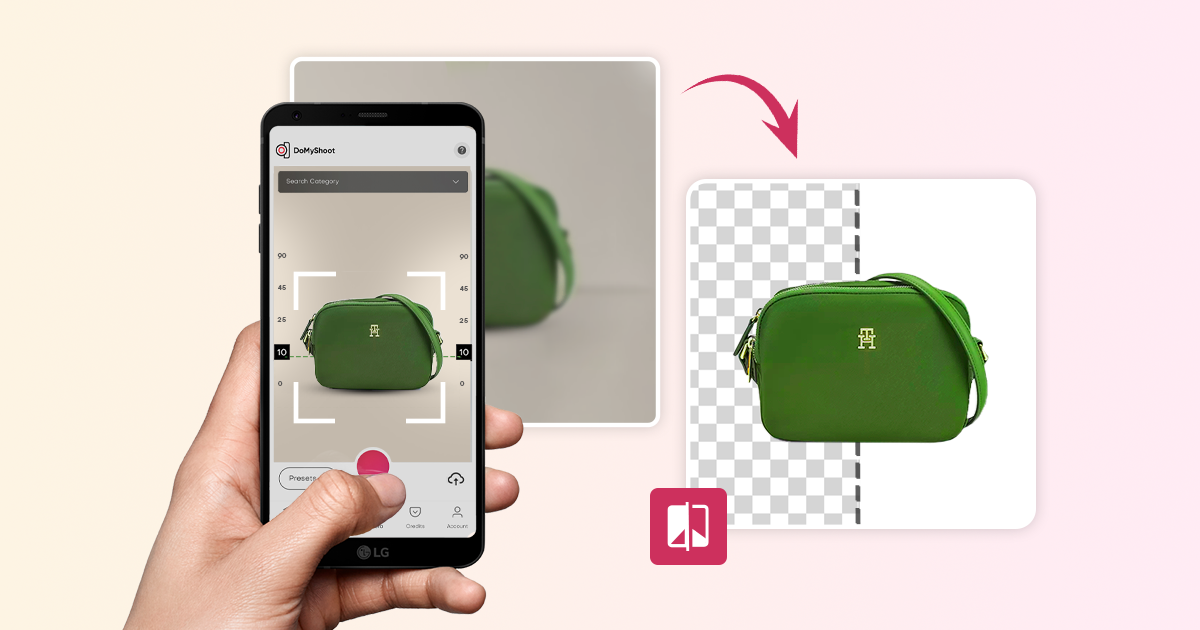
DoMyShoot has a mobile application allowing sellers to shoot their products simply using a smartphone. This helps significantly cut costs on investing in heavy photography equipment.
3. It has a web app
Along with using DoMyShoot on your phone, you can also access the Web Application via your same account, allowing you to access your photoshoot via the web.
4. It optimizes the photos as per marketplace image guidelines
Different eCommerce marketplaces have other policies when it comes to their product photos. Amazon prefers a particular white shade, eBay prefers a certain RBG, and Walmart has its image guidelines. DoMyShoot helps you optimize your product photo per the selected marketplace image guidelines.
Book a call with the DoMyShoot team today!